
If you are planning to turn your old furniture into something new that will be great useful and even sustainable, then read this full guide here you are going to learn how to upcycle a dresser.
Converting old furniture into something new, reduces waste, saves you money, and gives a unique touch to your bedroom. It also enhances the quality of furniture for a longer life.
Here you will get a step by step guide that will help you upcycle your old dresser into a new one.
How to upcycle a dresser
Here are step-by-step guides to upcycle a dresser, and make it a beautiful, functional piece with easy guide and creative ideas.
Step 1 List of essential materials and tools to upcycle a dresser
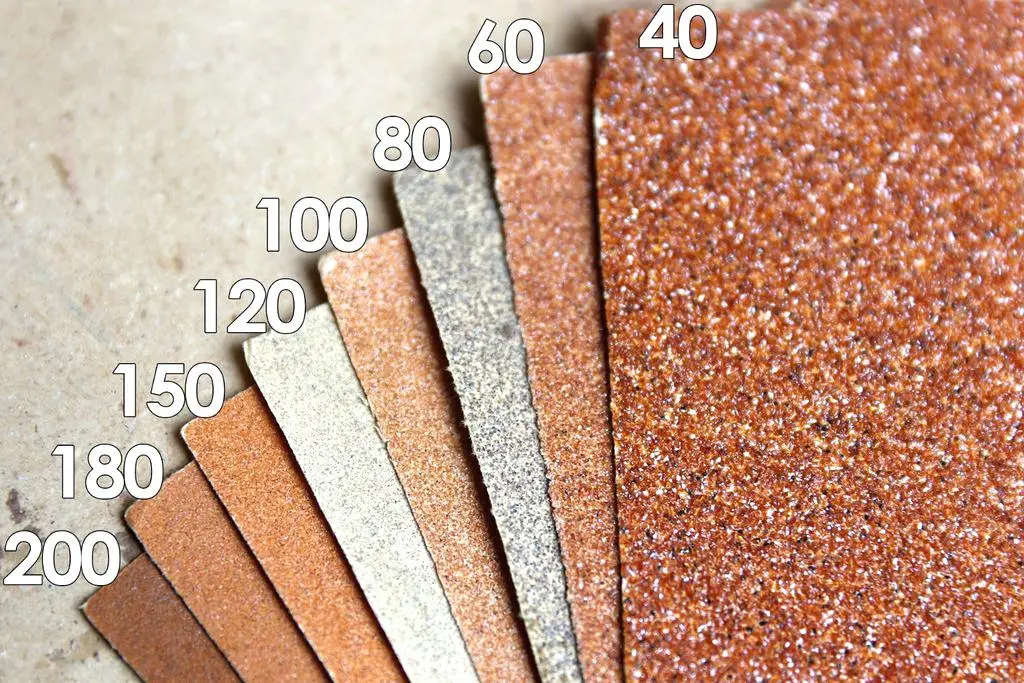
First, you need to have some tools and materials to start. The first material is sandpaper in different grits (60, 120, and 220) to smooth surfaces and remove old finishes.
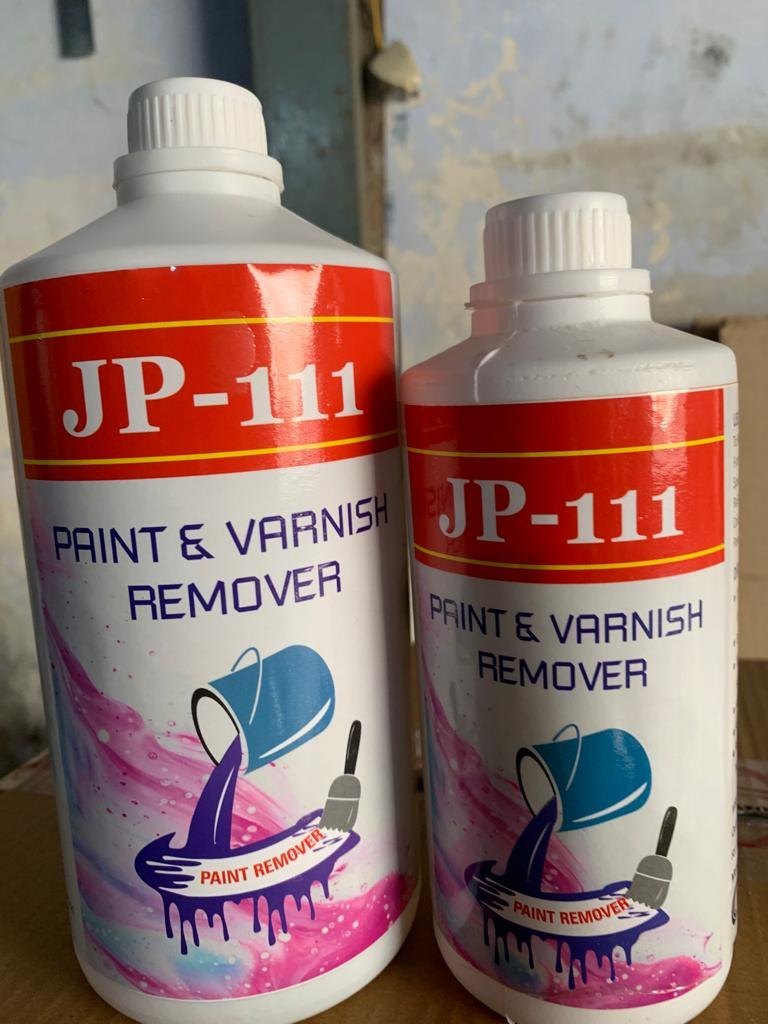
If you are struggling to remove old paint then use a paint stripper to remove it.
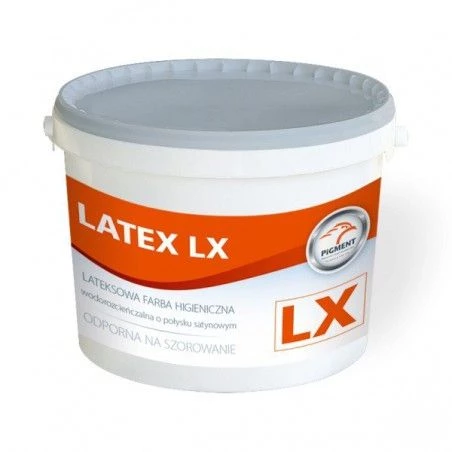
Choose paint color wisely, and make sure it looks vintage and durable too. go for chalk paint and latex paint these are well known for their vintage look and durability.

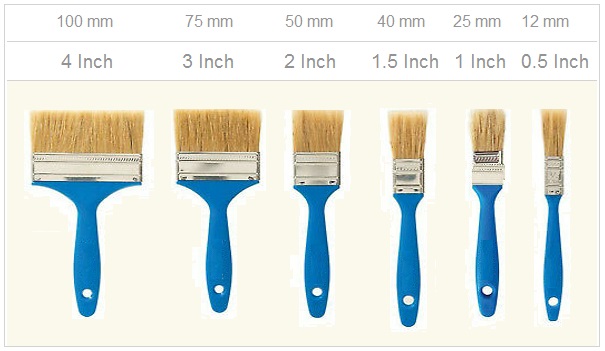
Brushes of various sizes and foam rollers help apply the paint evenly.
You’ll also need a primer to prep the surface and a clear topcoat polyurethane to protect your finished piece.

Add some flair with stencils or decals. New hardware, like knobs, handles, and hinges, can give your dresser a fresh look.

Also consider a screwdriver for removing and installing hardware, a wood filler for fixing any cracks or holes, and a drop cloth to protect your workspace.
Having these materials and tools will make your upcycling a dresser smooth process.
Step 2 Removing old hardware

Removing old hardware is a simple but important step in upcycling a dresser.
Use a screwdriver to unscrew and remove the existing knobs, handles, or pulls. Keep the screws and hardware in a safe place in case you need them later.
If the hardware is stuck, gently tap it with a hammer to loosen it. Once all the hardware is removed, check for any remaining screws or nails and remove them as well.
This step prepares the dresser for sanding, painting, and adding new hardware, giving it a fresh, updated look.
Step 3 Deciding on the overall look
Deciding the overall look according to your style for an upcycled dresser is crucial.
For a shabby chic look, consider soft pastel colors, distressed edges, and vintage-inspired hardware.
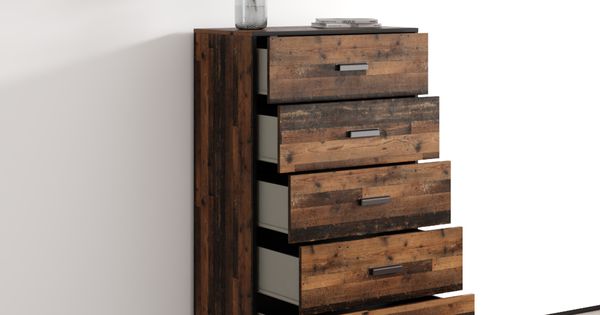
A modern style might use sleek lines, bold colors, or a monochromatic palette with minimalistic hardware.

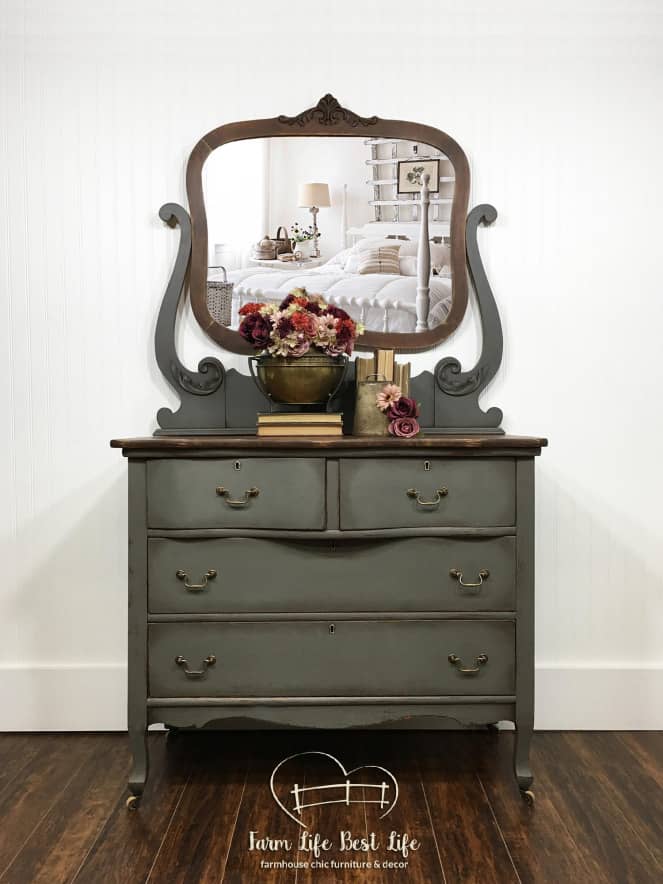
If you prefer a vintage feel, think about rich, warm tones, ornate handles, and perhaps some stenciling or decoupage.
Look for inspiration online or in magazines to find ideas that match your taste. Choosing the right style will guide your design choices and help create a cohesive and attractive final piece.
You can take ideas online to find your favorite look. Choosing the right style will guide your design choices and help create a cohesive and attractive final piece.
Step 4 Techniques for painting
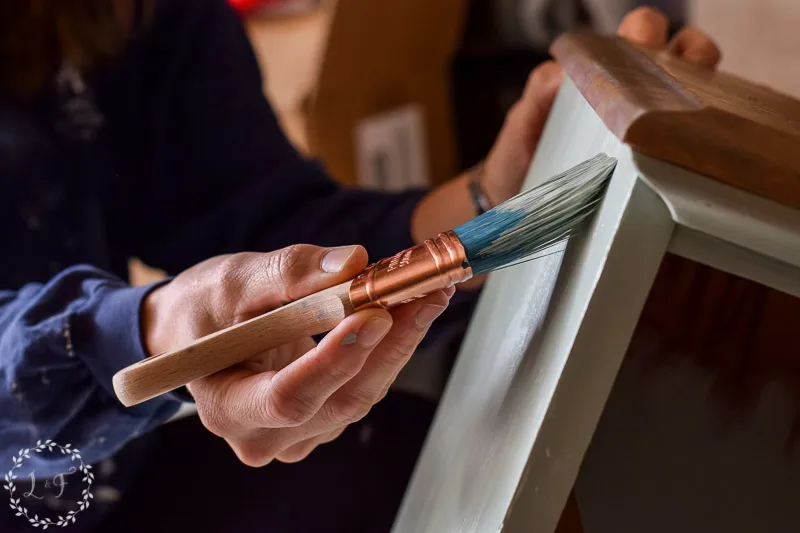
When painting your dresser, you can choose between using a brush or spray paint.
Brushes are great for control and detailed work, while spray paint provides a smooth, even finish quickly.
Start by applying a primer to prepare the surface and ensure the paint adheres well.
After the primer dries, apply multiple coats of paint, allowing each coat to dry thoroughly before adding the next.
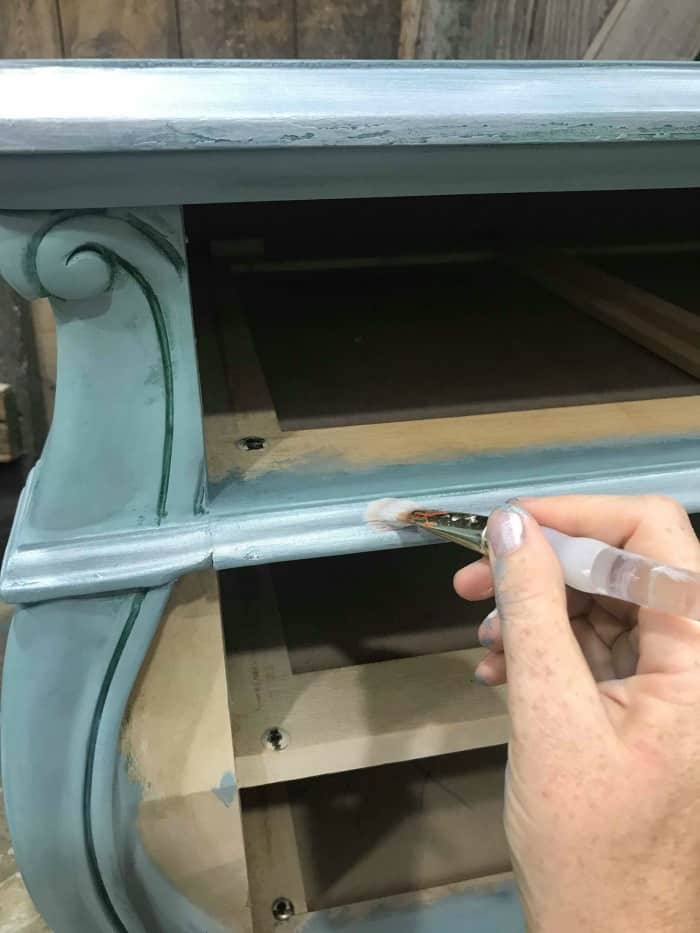
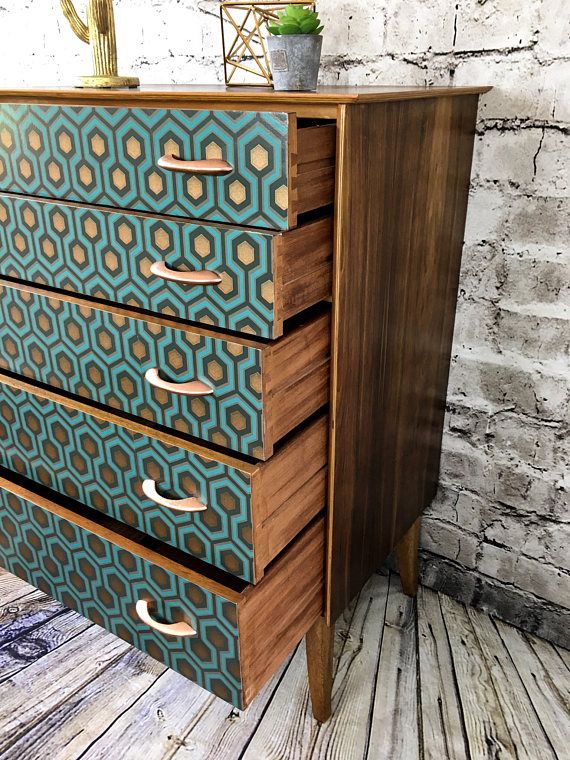
For decorative touches, you can distress the paint with sandpaper for a vintage look, use stencils to create patterns or try decoupage by gluing decorative paper or fabric onto the dresser.
These techniques add unique and personal touches, making your upcycled dresser stand out.
Step 5 Choosing new knobs, handles, or pulls
Choosing a unique knobs, handles, or pulls can give the look of your upcycled dresser.
Select hardware that complements your chosen style, whether it’s sleek and modern or vintage and ornate. When installing new hardware, use a screwdriver to securely attach each piece. Ensure the screws are tight but avoid over-tightening to prevent damage.
For a unique look, consider mixing and matching different styles or finishes. You might use vintage knobs on the top drawers and sleek handles on the lower ones.
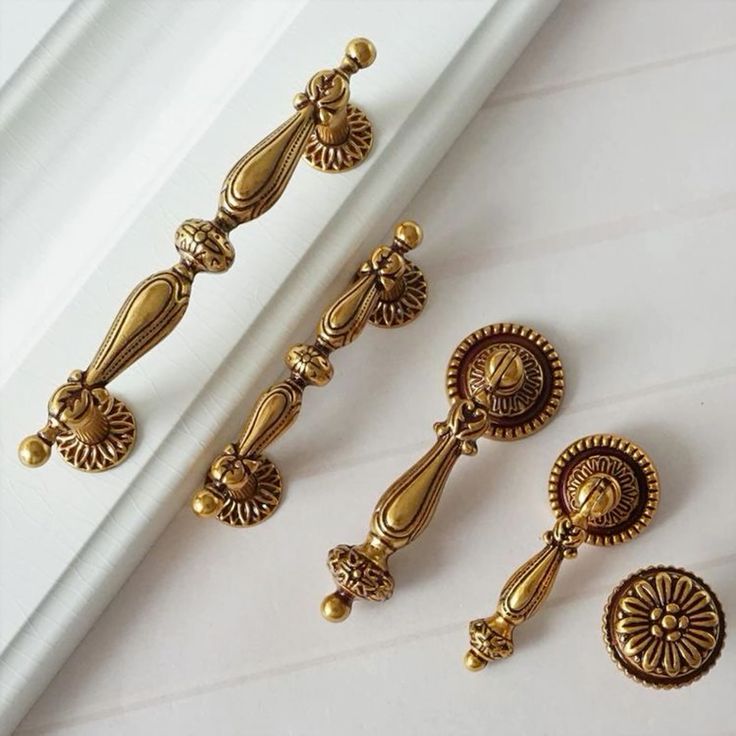

Combining different shapes and sizes can add character and make your dresser stand out. Experiment with different arrangements until you find a combination that you love.
Step 6 Applying a protective finish

Applying a protective finish is the final step to seal and protect your upcycled dresser.
You can use wax for a soft, matte finish or varnish for a shiny, durable surface. Apply the finish evenly with a brush or cloth, following the product instructions. Allow it to dry completely to ensure the dresser is well-protected.

Once the finish is dry, reassemble the dresser by putting the drawers back in place and attaching any removable parts.
Check that all drawers and doors open and close smoothly. If they stick, you might need to sand the edges slightly or apply a bit of wax to the runners.
Ensuring everything works properly will complete your project and make your dresser functional and beautiful.
FAQ
What if my drawers don’t open smoothly?
Sand the edges slightly or apply wax to the runners.
Why is primer necessary before painting?
Primer ensures paint adheres well and provides a smooth base.
How many coats of paint should I apply?
Apply multiple coats, allowing each to dry completely.
What are some decorative touches I can add?
Consider distressing, stenciling, or decoupage for unique designs.
How can I fix cracks or holes in the dresser?
Use wood filler to repair any cracks or holes before painting.
Conclusion
We have gone through step by step guide to upcycle a dresser to give your old furniture a new look and make it useful as well.
It is not as hard as it looks like, if you have some right tools then you can do it by yourself. also, you can hire a professional worker to do it, but it can cost you more, it is better to DIY so that you can save some money and use it to make it more attractive and beautiful.
I hope my detailed guide helps you to upcycle a dresser, If you have any questions you can comment me down below for further assistance, I will surely help you.