

Searching for something fun to craft this fall season?
Look no further! I’ve gathered the top 10 easiest DIY fall craft ideas that you can try out.
Whether you’re new to crafting or just looking for some simple and creative projects, these ideas are perfect for your fall decor. Let’s dive into some fall-inspired fun!
Here are the top 10 DIY fall craft ideas
Here are the top DIY fall craft ideas to inspire your autumn decor. Explore creative projects to add a festive touch to your home this season.
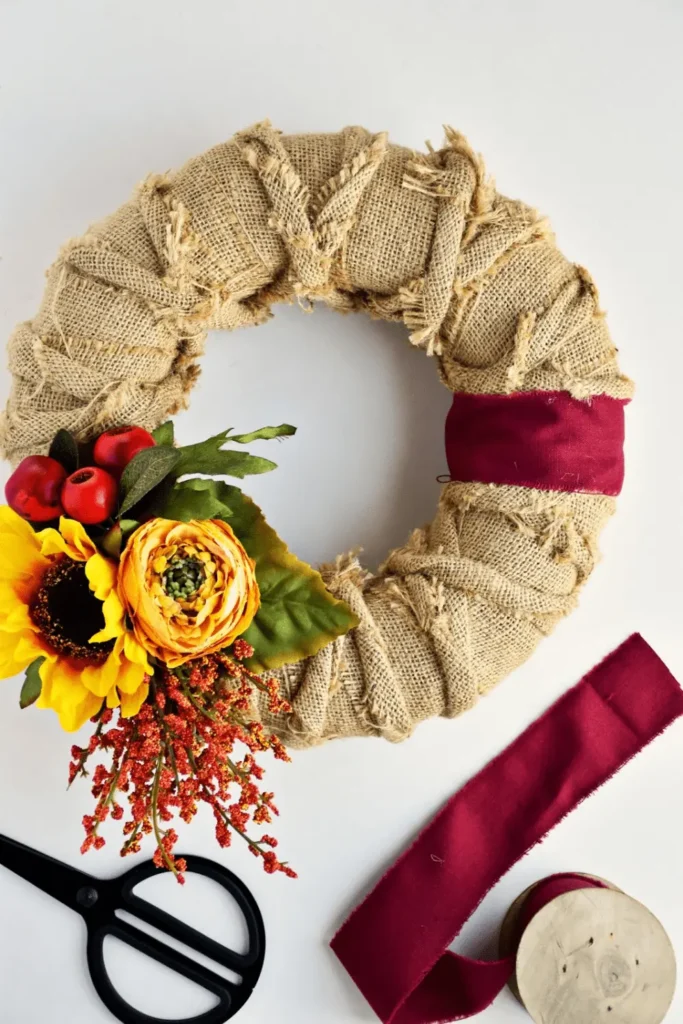
1. DIY fall craft ideas for wreaths
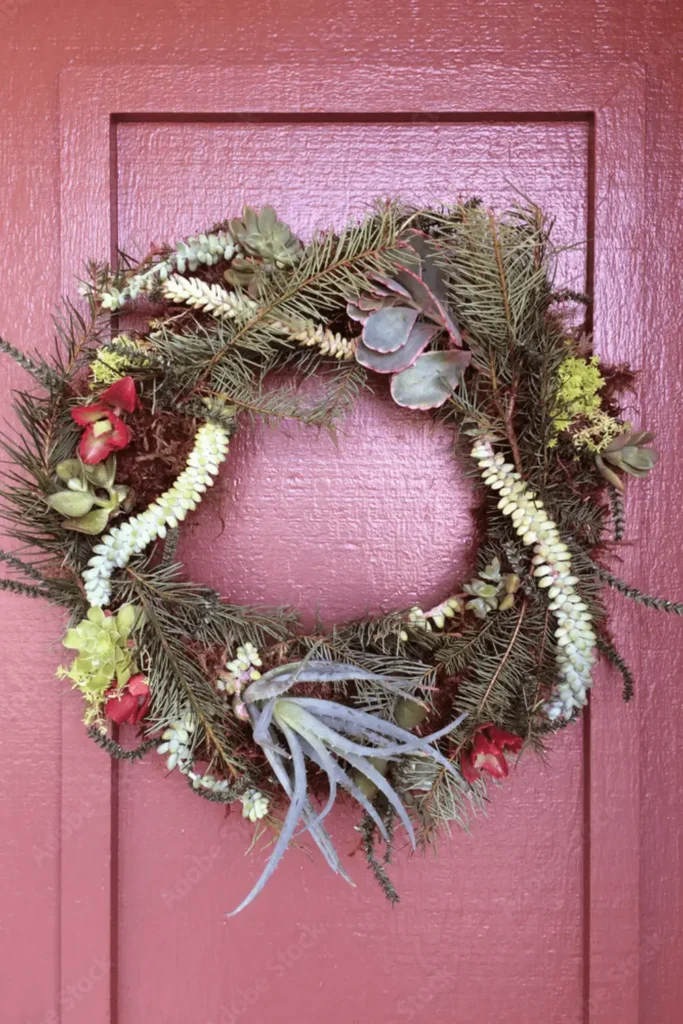
Creating a fall wreath is a fun way to decorate for the season. Here’s a simple guide to help you make your own fall wreath.
What you need to make fall wreaths
1. Wreath frame (foam or wire)

2. Fake Fall leaves or real

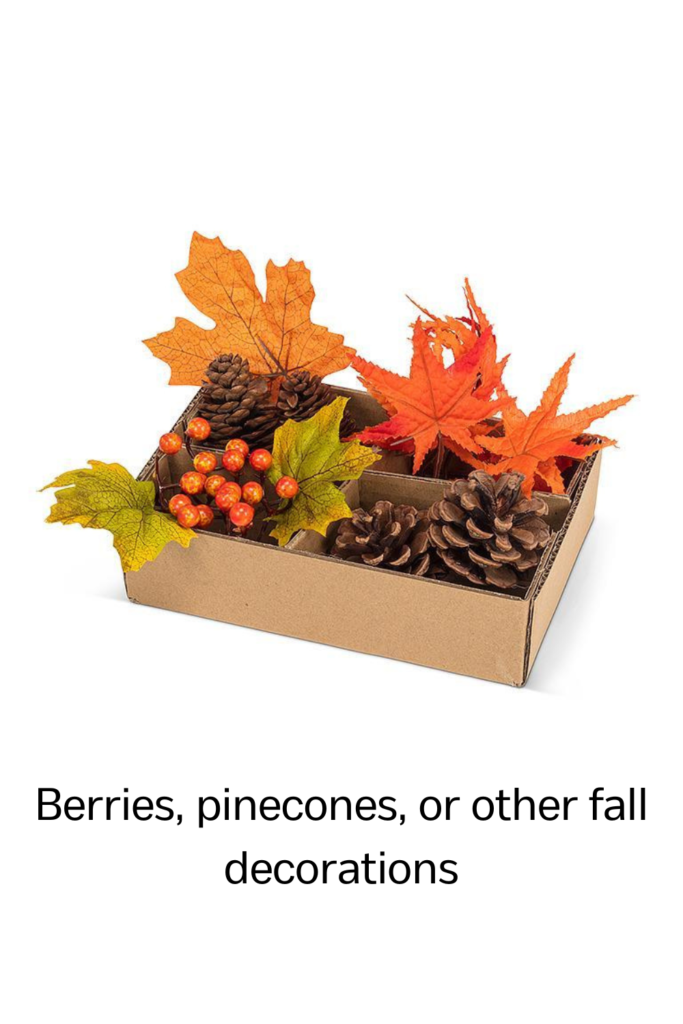
3. Berries, pinecones, or other fall decorations
4. Hot glue gun and glue sticks

5. Scissors

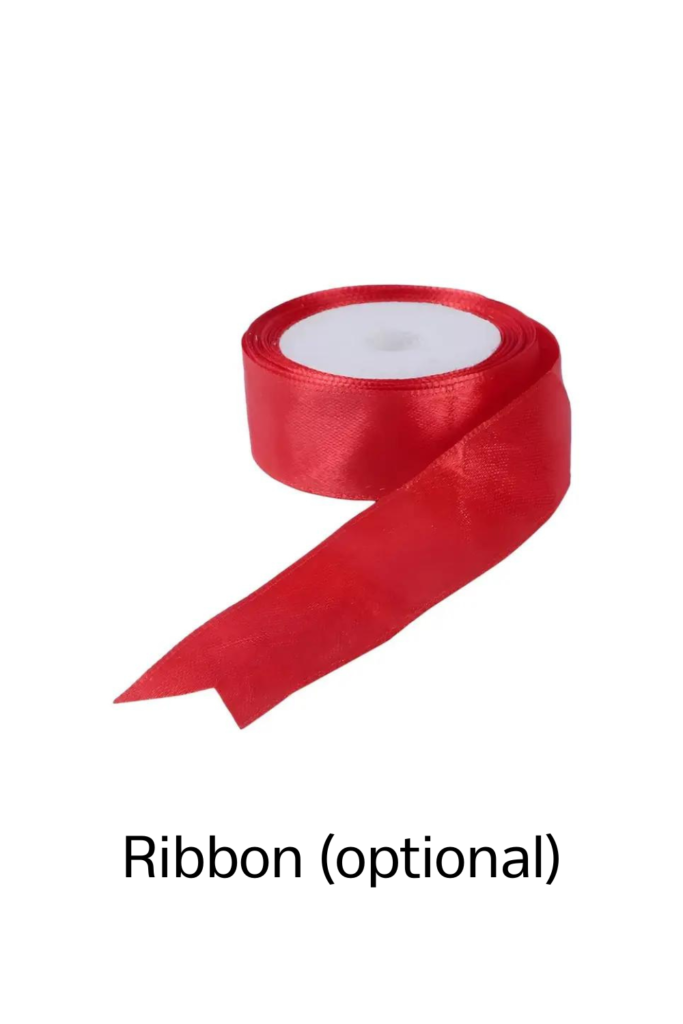
6. Ribbon (optional)
Step 1 Prepare Your Work Area

Lay out your materials on a clean surface. This will make it easier to see everything and keep your space tidy.
Step 2 Attach the Leaves
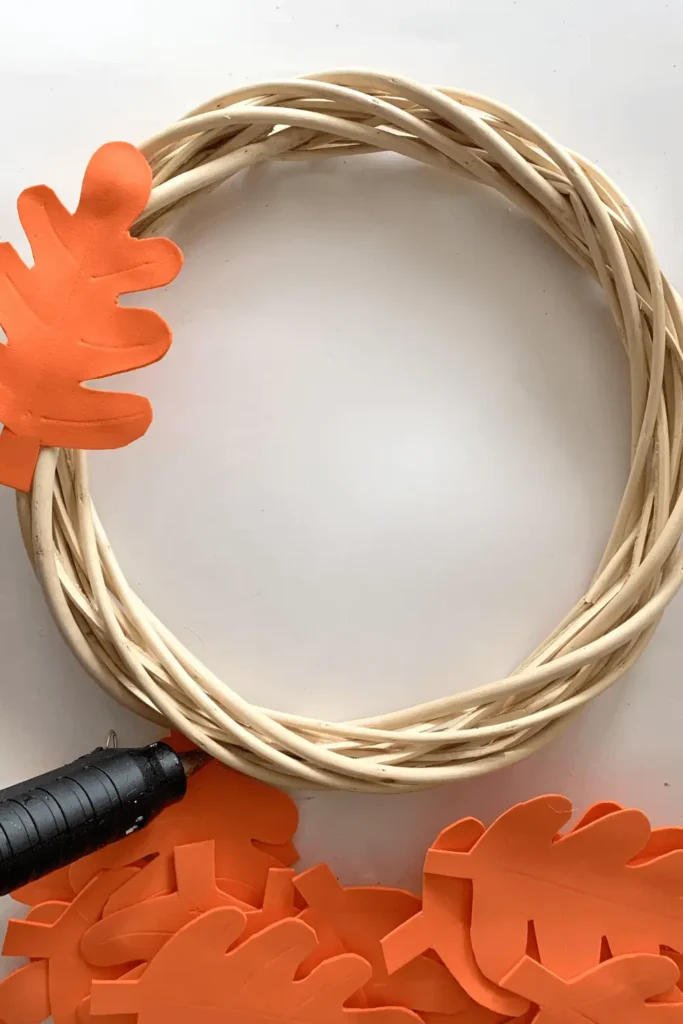
Start by gluing leaves onto the wreath frame. Place a small amount of glue on the back of a leaf and press it onto the frame. Hold it for a few seconds until the glue sets.
Continue gluing leaves around the wreath. Overlap the leaves slightly so no part of the frame shows through.
Step 3 Add Other Decorations

Once the leaves are in place, add other decorations like berries or pinecones. Glue these items in between the leaves to fill in any gaps.
Make sure to place larger items first and smaller ones last for a balanced look.
Step 4 Finish with Ribbon (Optional)
If you want, you can add a ribbon to your wreath. Cut a length of ribbon and make a bow. Glue the bow onto the top or side of the wreath.
You can also make a loop with the ribbon to hang the wreath.
Step 5 Let the Glue Dry

Allow the glue to dry completely before hanging your wreath. This usually takes about 30 minutes.
Step 6 Hang Your Wreath
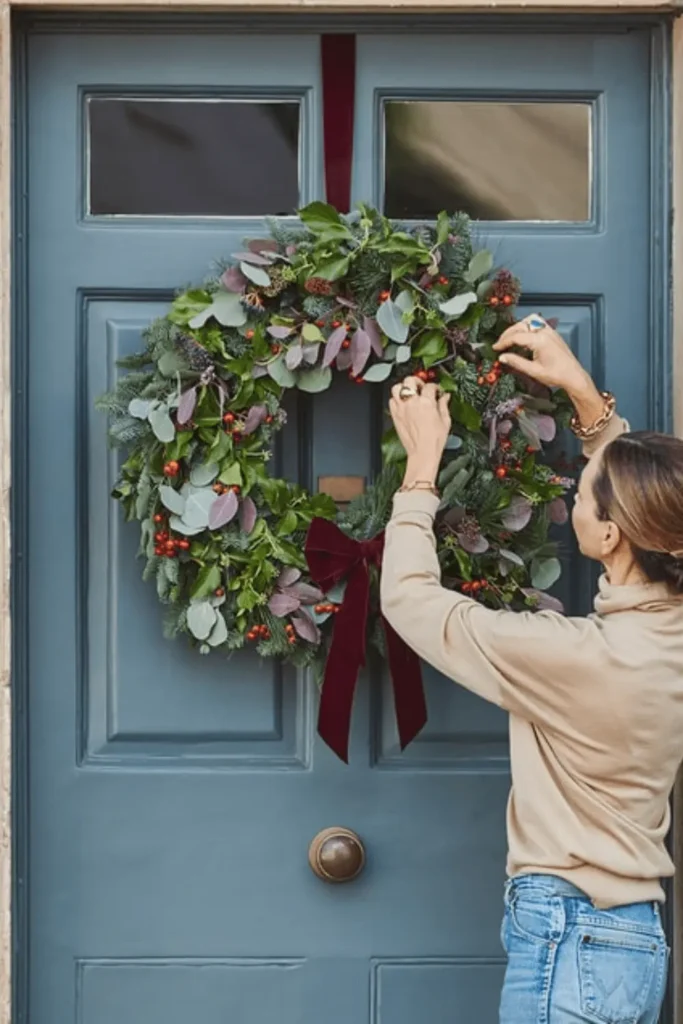
Choose a spot to hang your wreath, like your front door or wall. Use a hook or nail to hang it up.
Tips
Mix and Match Use different colors and textures of leaves to make your wreath more interesting.
Keep It Simple If this is your first wreath, start with fewer decorations and add more as you get comfortable.
Now you have a beautiful fall wreath to enjoy!
2. Diy fall craft ideas for Pumpkin Spice Candles
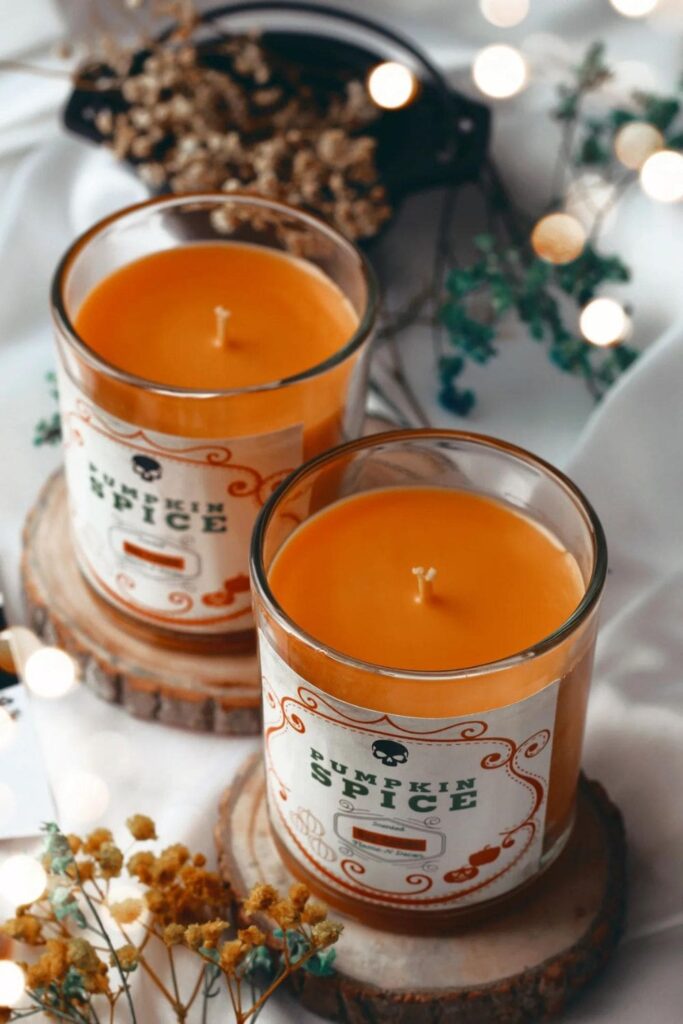
Making pumpkin spice candles is easy and fun. Follow these simple steps to create your own candles that smell great and add a cozy touch to your home.
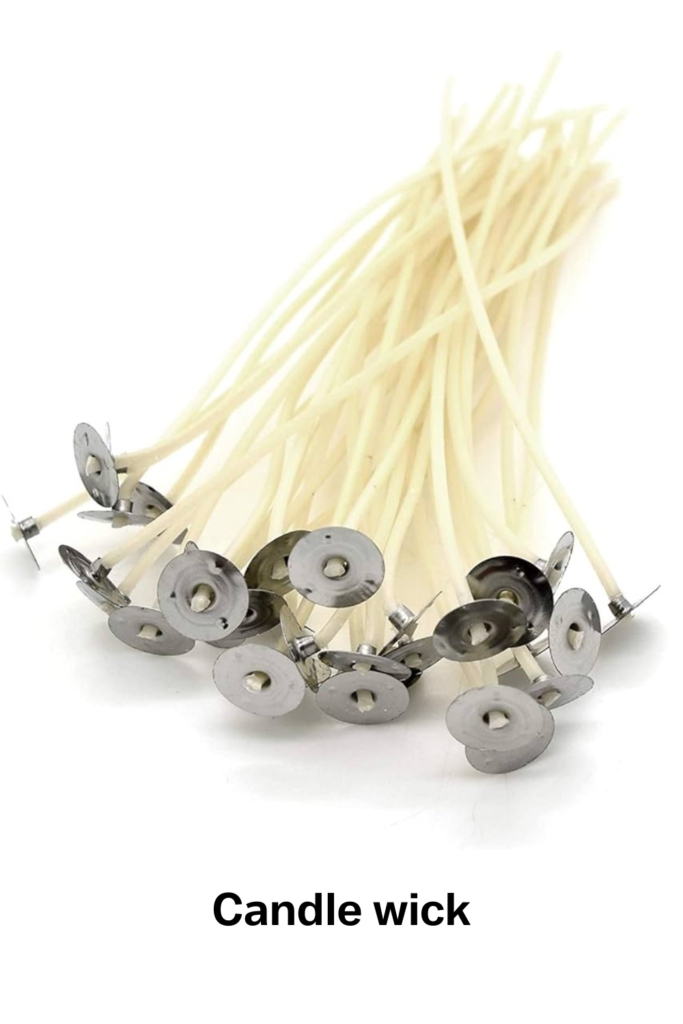
What You’ll Need
1. Candle wax (soy or paraffin)

2. Candle wick
3. Pumpkin spice fragrance oil

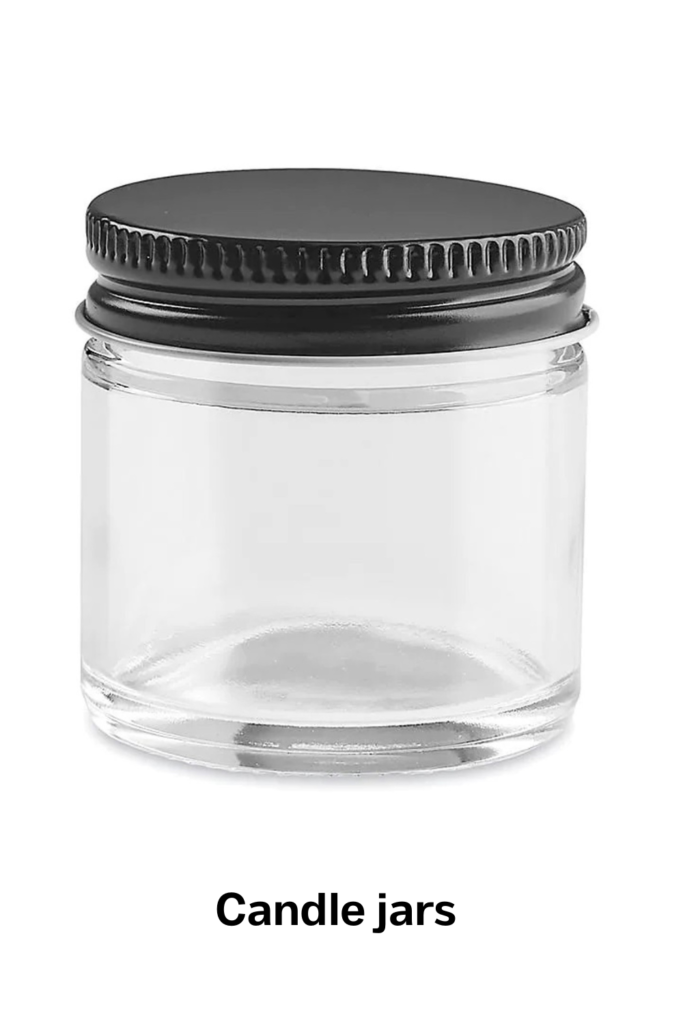
5. Candle jars or molds
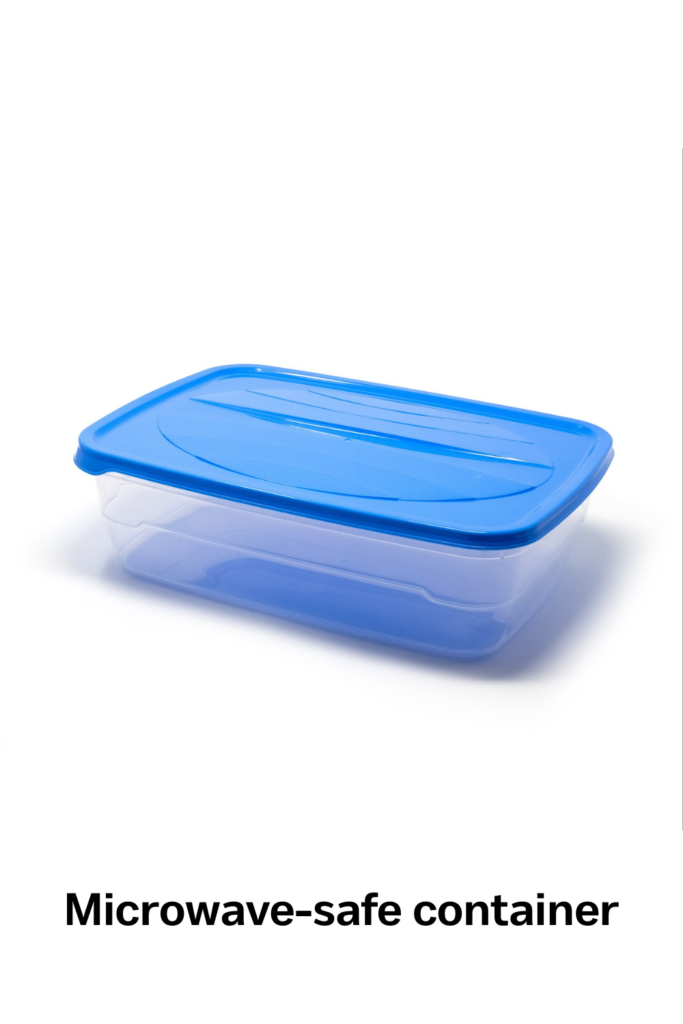
6. Double boiler or microwave-safe container
8. Hot glue gun (optional)

So how you can prepare it after gathering all materials, just follow below steps
Step 1 Prepare Your Work Area
Set up a clean and flat surface. Cover it with newspaper or paper towels to catch any spills.
Step 2 Attach the Wick

If you’re using a jar, place a small amount of hot glue on the bottom of the wick holder and stick it to the center of the jar.
Let it set for a few minutes. This keeps the wick in place when you pour the wax.
Step 3 Melt the Wax
If you’re using a double boiler, fill the bottom pot with water and place the wax in the top pot. Heat until the wax melts completely.
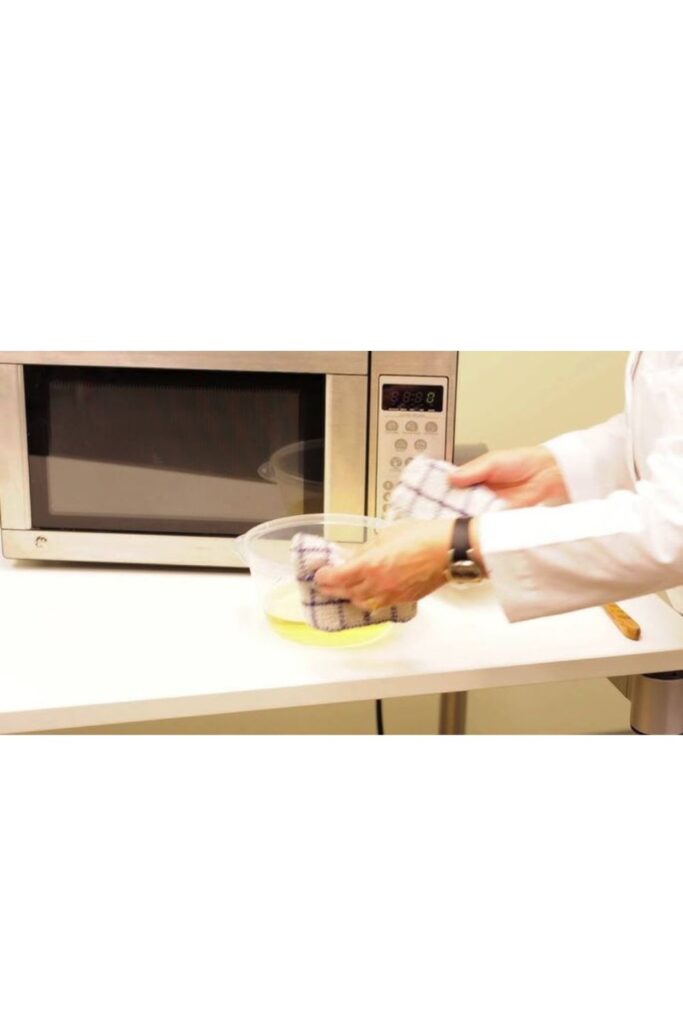
If you’re using a microwave, place the wax in a microwave-safe container. Heat it in 30-second intervals, stirring in between, until melted.
Step 4 Add the Fragrance
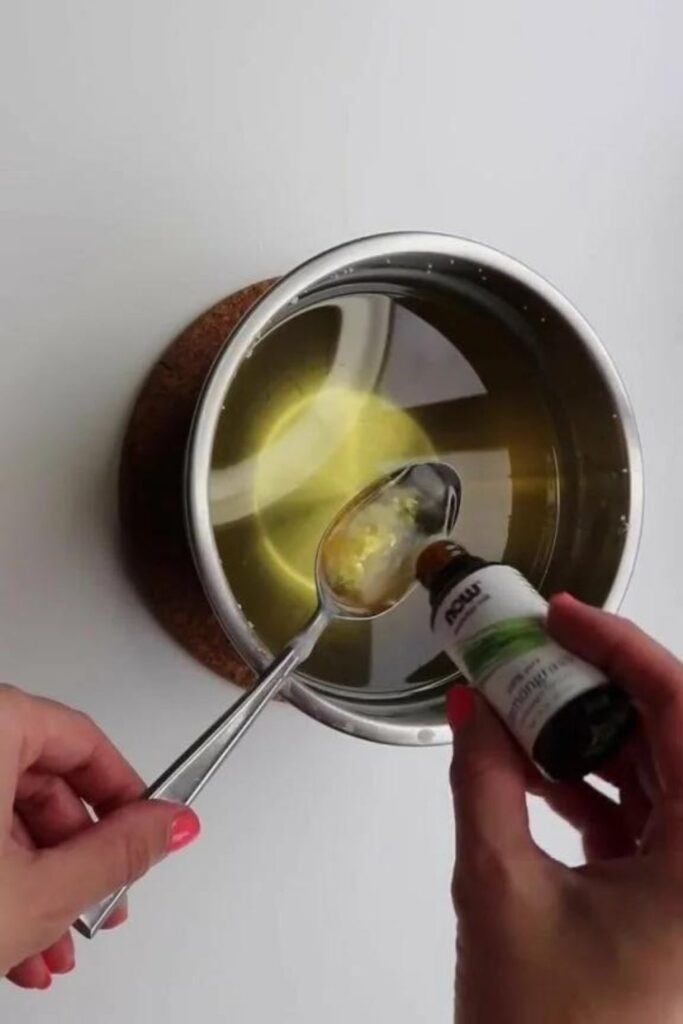
Once the wax is melted, add pumpkin spice fragrance oil. Follow the instructions on the fragrance bottle for the right amount to use.
Stir well to mix the fragrance into the wax.
Step 5 Pour the Wax
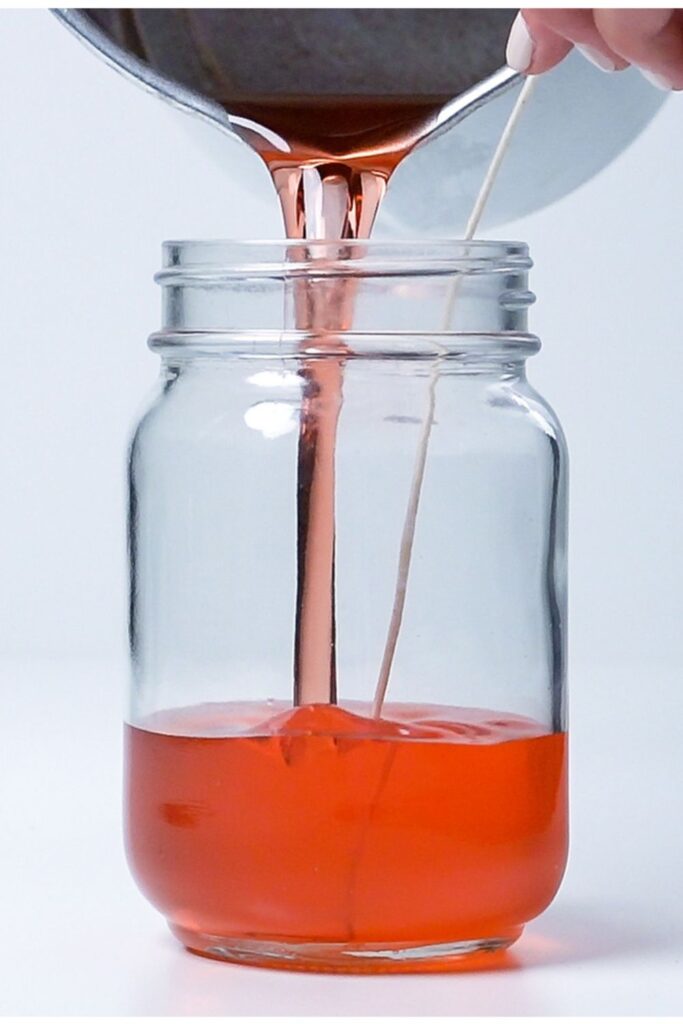
Carefully pour the melted wax into the prepared jars or molds. Leave a little space at the top. Make sure the wick stays centered as you pour.
Step 6 Let the Candles Cool

Allow the candles to cool and harden completely. This usually takes about 4-6 hours. Avoid moving the jars while they’re cooling.
Step 7 Trim the Wick

Once the candles are set, trim the wick to about ¼ inch above the surface of the wax.
Step 8 Enjoy Your Candles
Your pumpkin spice candles are ready to use! Light them up to enjoy the fall fragrance.
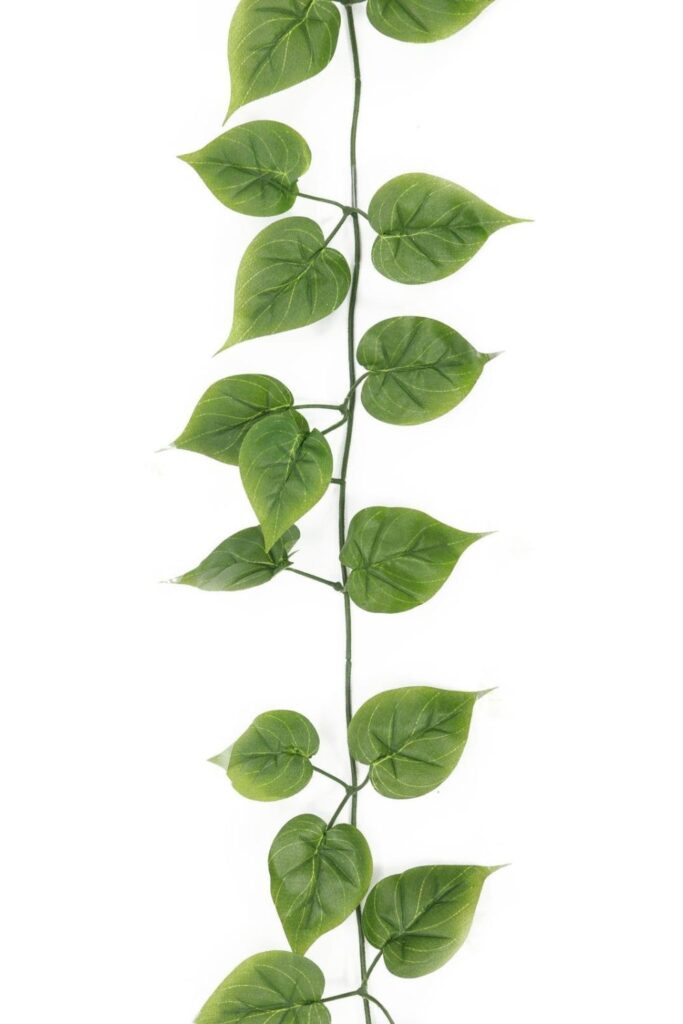
3. Autumn Leaf Garlands
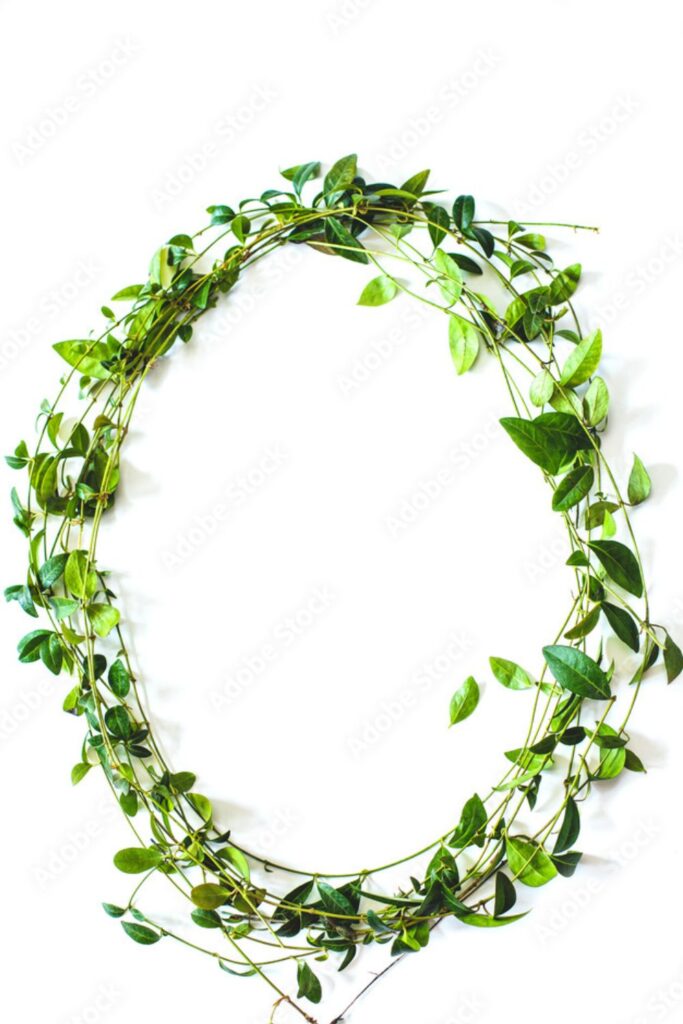
Creating an autumn leaf garland is a fun and easy way to bring fall into your home. Here’s how to make one step by step.
Require material to make leaf garland
1. Autumn leaves (real or fake)

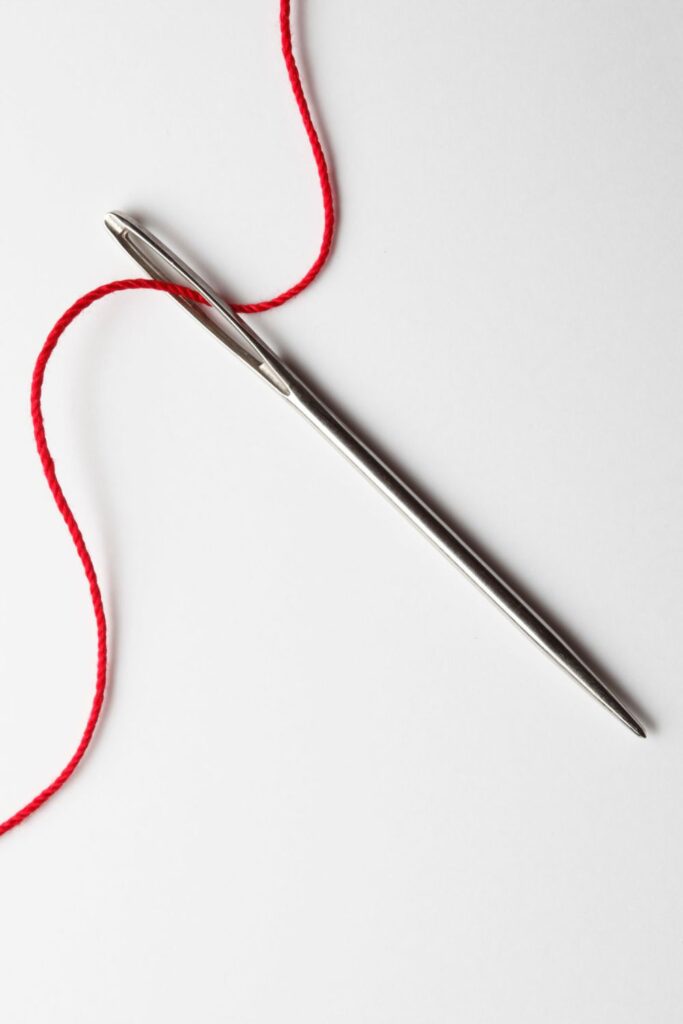
2. Needle and thread, or string
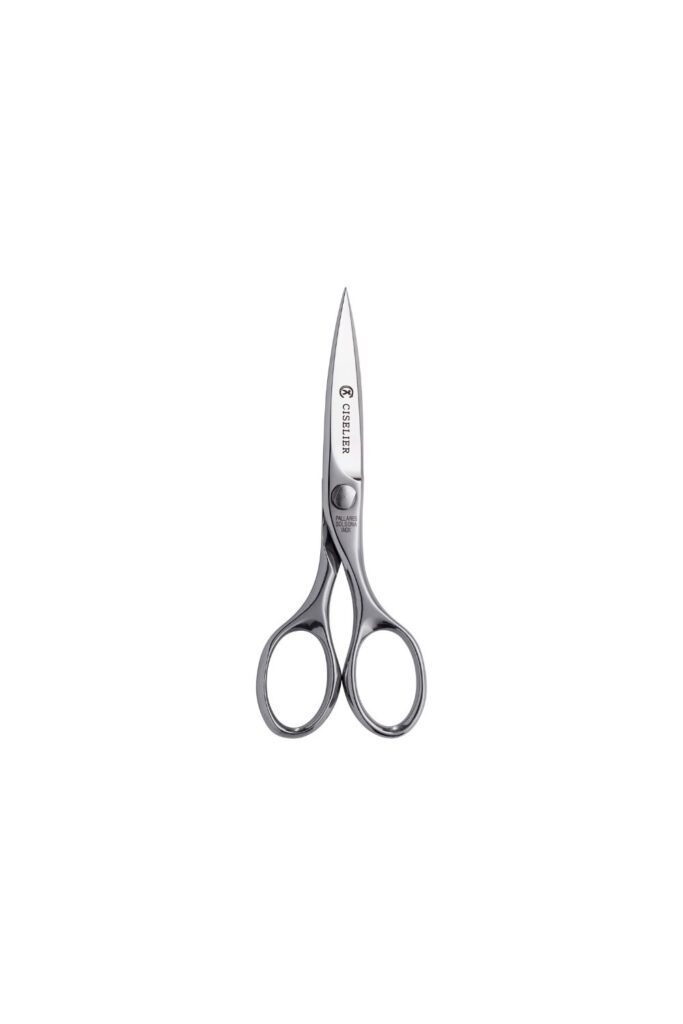
3. Scissors
4. Tape or hooks (for hanging)
Follow the below steps
Step 1 Collect Your Leaves
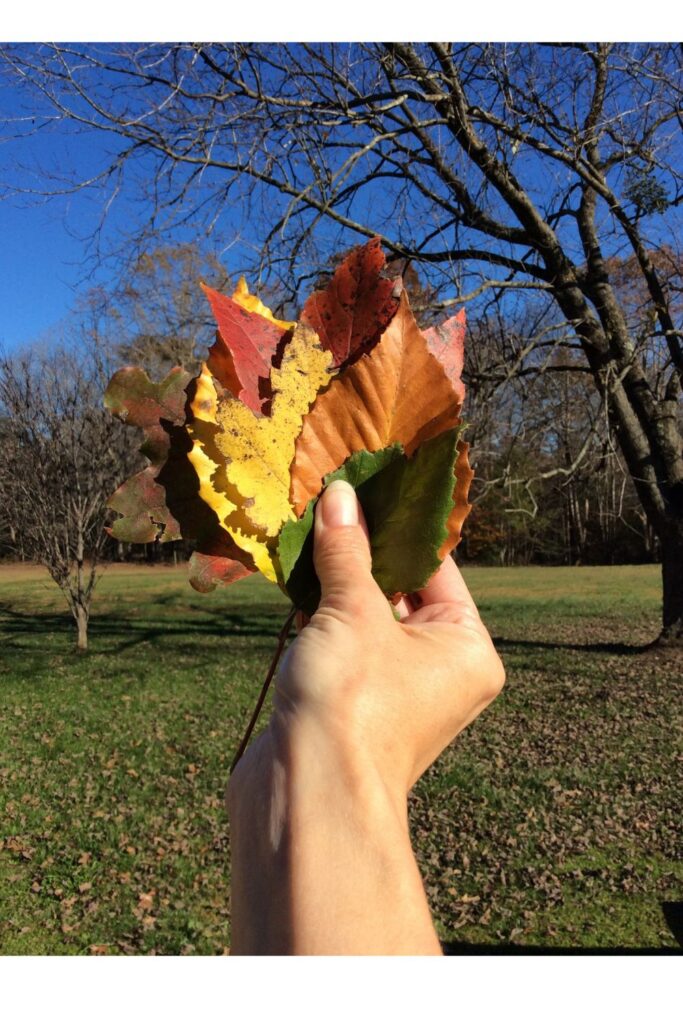
If you’re using real leaves, go outside and collect some. Look for leaves with different colors and shapes.
If you’re using fake leaves, you can find them at craft stores.
Step 2 Prepare the Leaves

If you are using real leaves, press them between heavy books for a day or two to flatten them. This helps keep the leaves from curling up.
Step 3 Cut the Thread or String
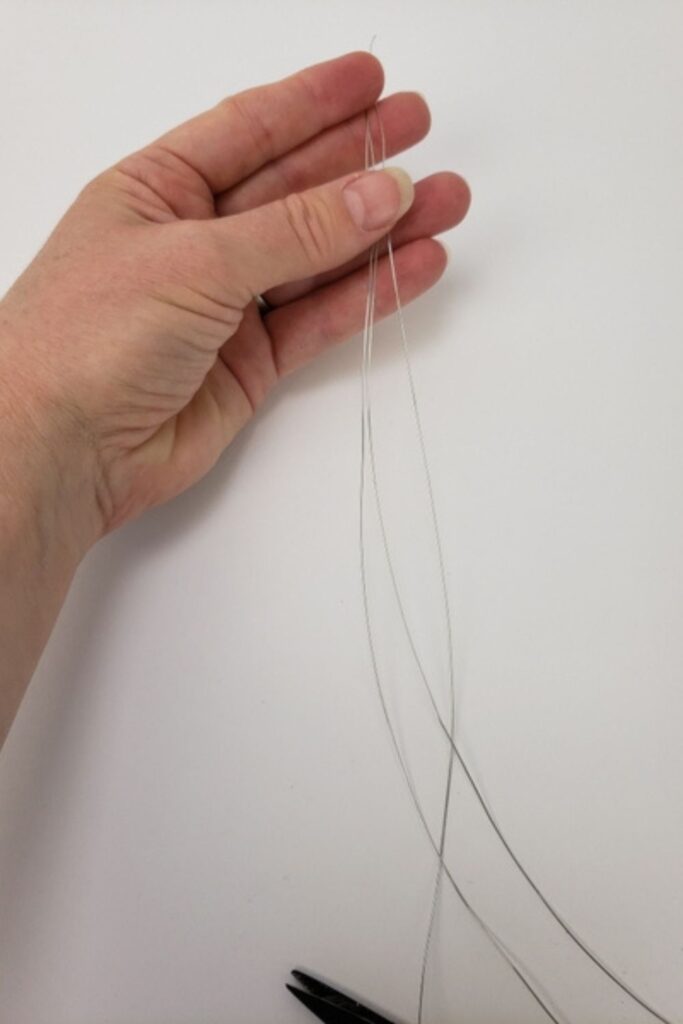
Decide how long you want your garland to be. Cut a piece of thread or string to that length, leaving a little extra at each end for hanging.
Step 4 String the Leaves

Thread your needle if you’re using thread. Then, poke the needle through the top of each leaf and slide the leaf onto the thread.
If you’re using string, simply tie the leaves onto the string by making small knots around the stems.
Step 5 Space the Leaves
Spread the leaves evenly along the thread or string. You can put them close together or leave some space between them, depending on how full you want your garland to look.
Step 6 Secure the Ends

Once all the leaves are on the thread or string, tie knots at each end to keep the leaves from sliding off.
Step 7 Hang Your Garland

Use tape, hooks, or nails to hang your garland. You can drape it across a mantel, window, or wall.
Tips
Mix It Up Use leaves of different colors and sizes for a more interesting garland.
4. DIY fall craft ideas for Cozy Knit Blankets
Knitting a cozy blanket is easy and relaxing. Follow these simple steps to make your own.
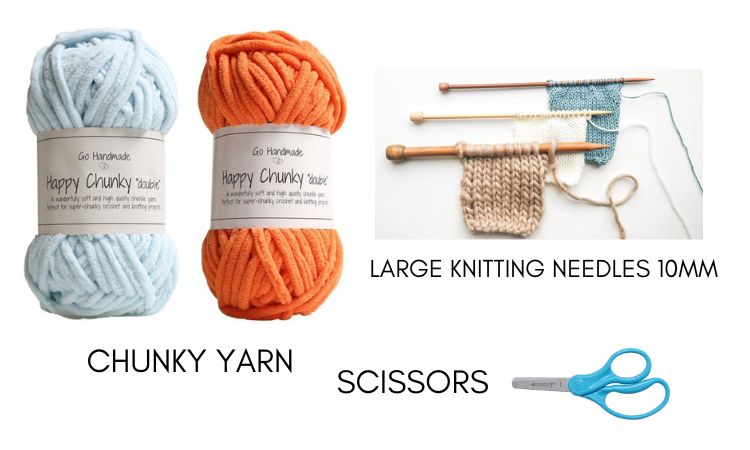
This is what you need to craft cozy knit blankets
Step by step to make this cozy blanket
Step 1 Choose Your Yarn and Needles
Pick a chunky yarn that feels soft and warm. Use large knitting needles that match your yarn size for faster knitting.
Step 2 Cast On Stitches
To start, cast on about 60 stitches for a medium-sized blanket. If you want a bigger blanket, cast on more stitches.
Step 3 Start Knitting
Begin knitting using the basic knit stitch. Insert the needle into a stitch, loop the yarn around, pull it through, and slide the old stitch off. Keep going until you finish the row.
Step 4 Continue Knitting Rows
Knit row after row until your blanket reaches the desired length. The more rows you knit, the longer your blanket will be.
Step 5 Bind Off the Stitches
When your blanket is long enough, bind off to secure the edges. Knit two stitches, then lift the first stitch over the second and off the needle. Repeat until all stitches are off.
Step 6 Cut the Yarn
Cut the yarn, leaving a small tail. Pull the tail through the last stitch to secure it.
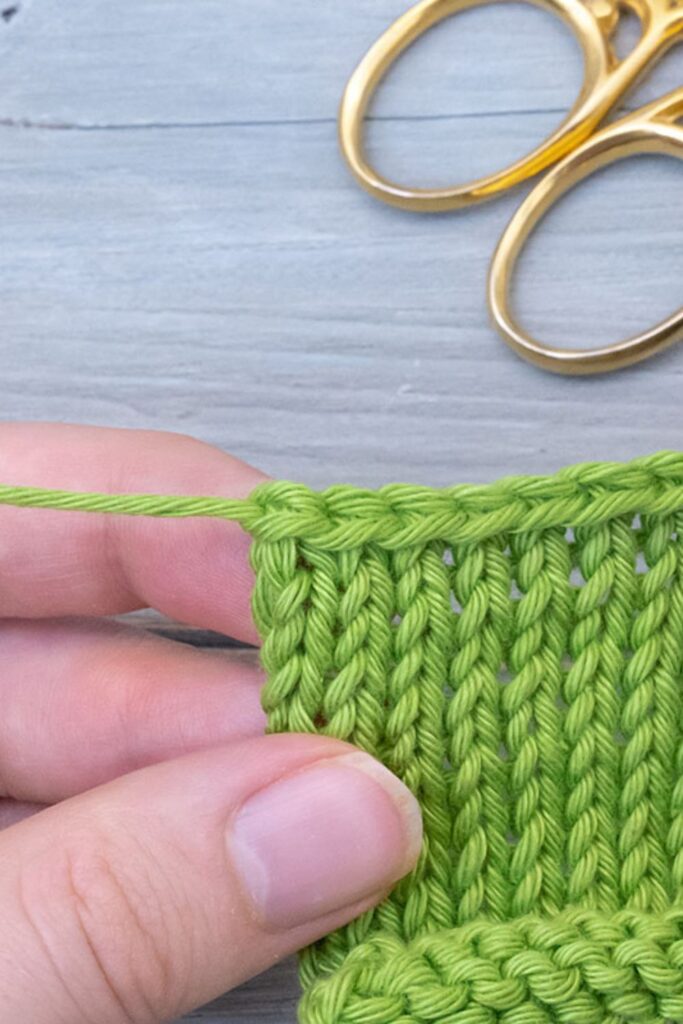
Step 7 Weave in Loose Ends
Tuck in any loose ends of yarn using your fingers or a yarn needle. This makes your blanket look neat and finished.
Tips
Start small If you’re new to knitting, try making a small lap blanket first.
Mix colors use different colors of yarn to create stripes or patterns.
Take your time knitting a blanket takes time, so enjoy the process.
5. Hand Painted Pumpkins

Painting pumpkins is a fun and easy way to decorate for fall without the mess of carving. Here’s how you can create your own hand-painted pumpkins.
This is what you need to make Painted Pumpkins

Follow the below step by step guide
Step 1 Prepare Your Workspace

Lay down paper towels or newspaper on your work area to protect it from paint spills. Make sure your pumpkin is clean and dry.
Step 2 Choose Your Design
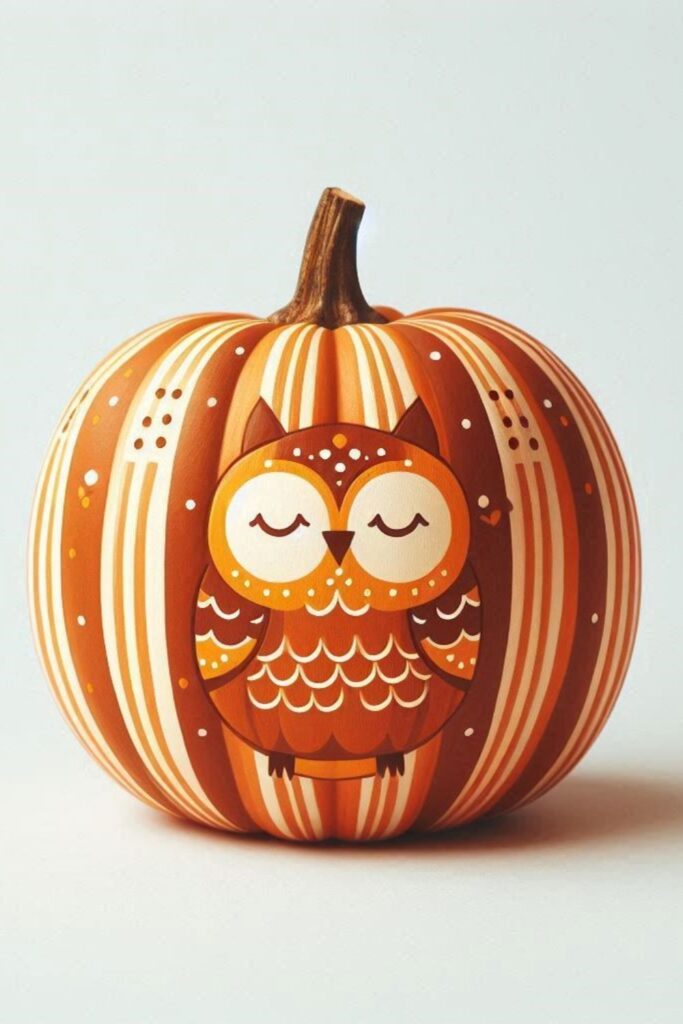
Decide what design you want to paint on your pumpkin. Simple patterns like stripes, polka dots, or faces are a good place to start.
Step 3 Start Painting
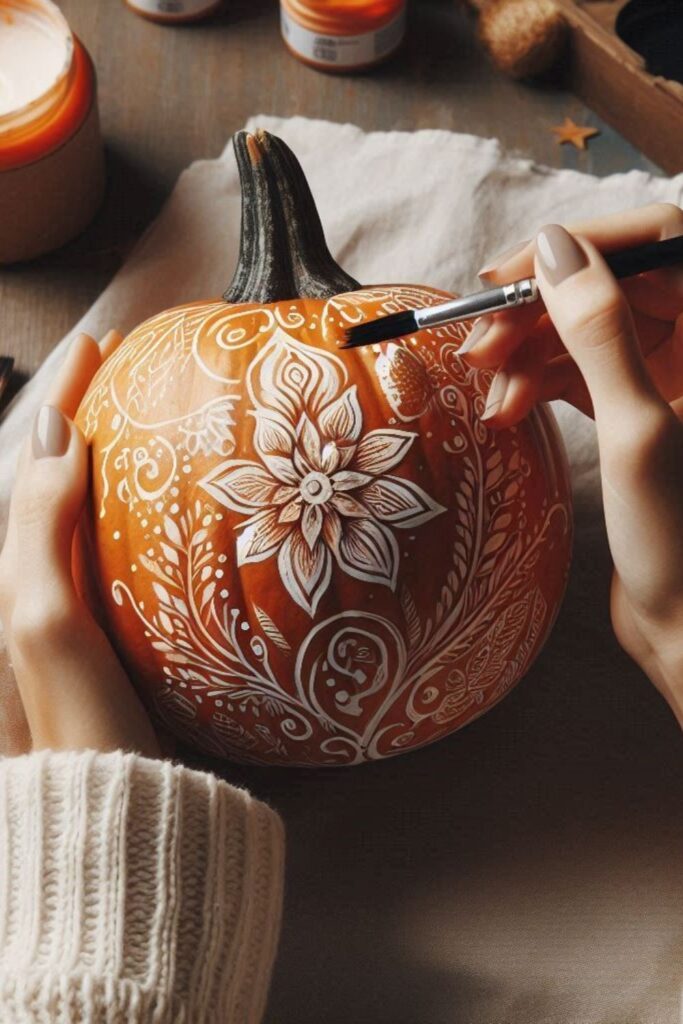
Dip your paintbrush into the acrylic paint and start painting your design on the pumpkin. Use broad strokes for large areas and a smaller brush for details.
If you want bright colors, you may need to apply more than one coat of paint. Let each coat dry before adding another.
Step 4 Let the Paint Dry

Allow your pumpkin to dry completely. This usually takes about an hour, depending on how much paint you used.
Step 5 Add Final Touches

Once the paint is dry, add any final details. You can use a thin brush for small designs or outline your shapes with a contrasting color.
Step 6 Display Your Pumpkin
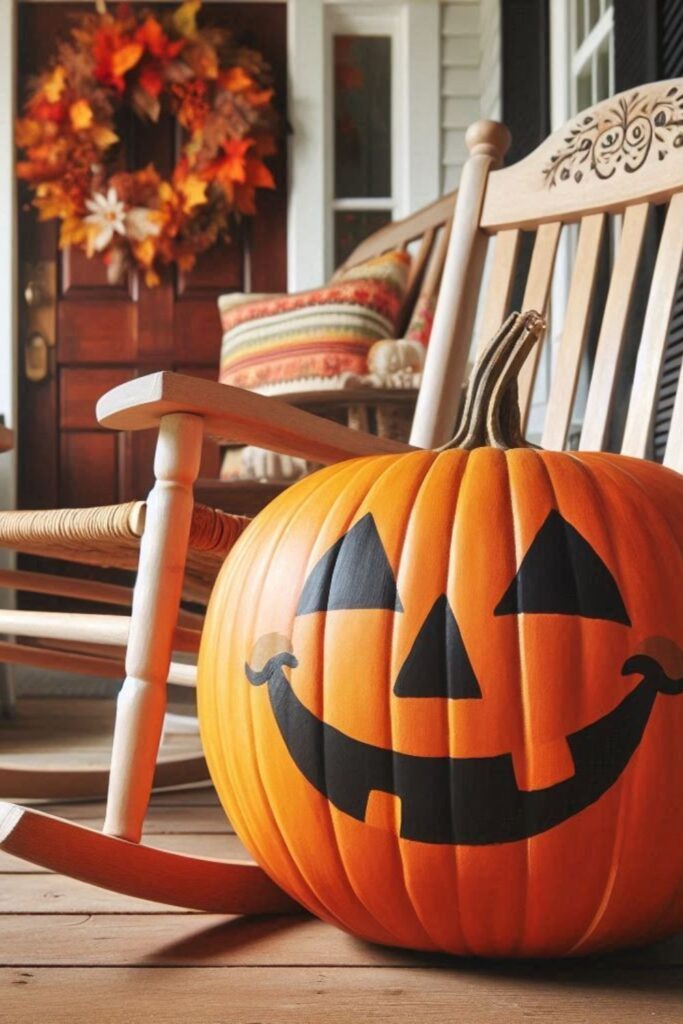
Place your painted pumpkin on your porch, windowsill, or as a centerpiece in your home. It’s a simple and mess-free way to enjoy fall decorations!
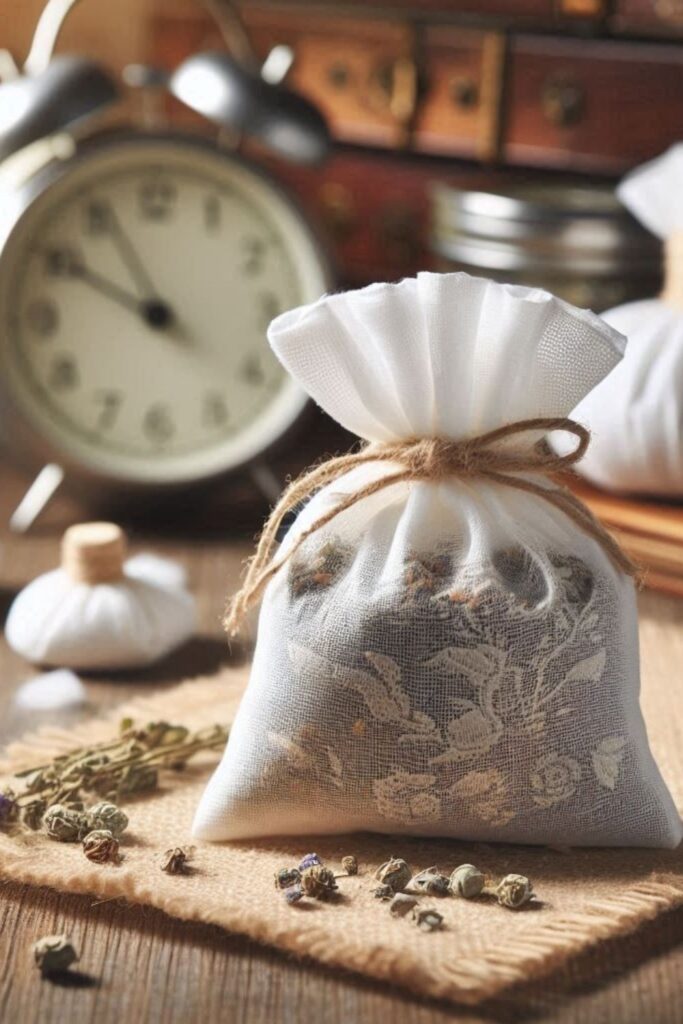
6. Diy fall craft ideas for Scented Sachets
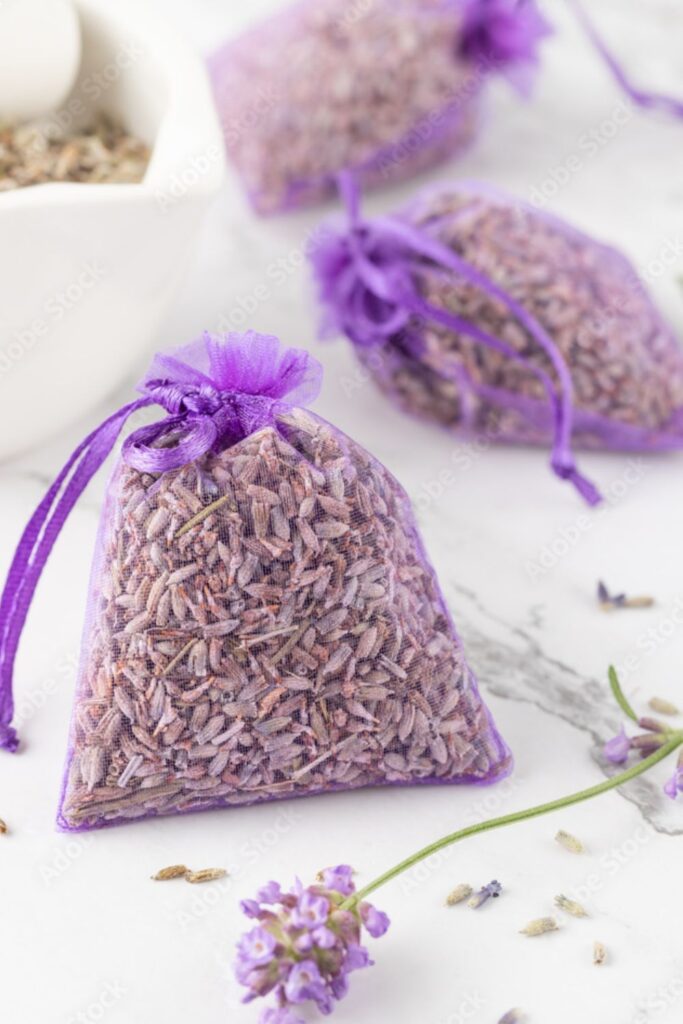
Fall scented sachets are easy to make and add a lovely smell to your home. Here’s how you can create your own.
What You’ll Need
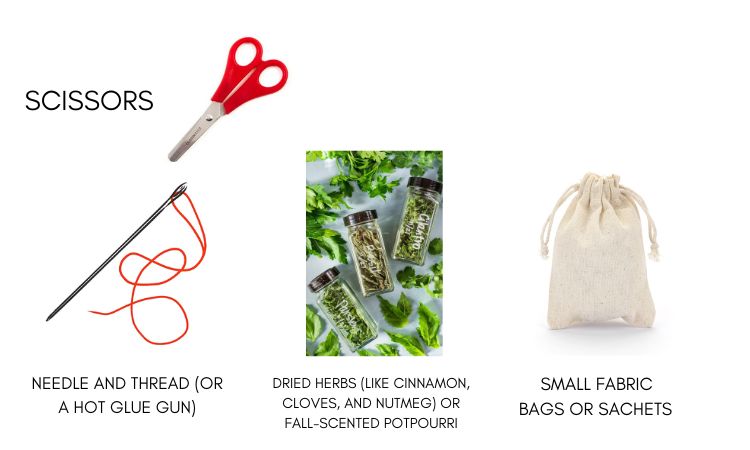
Perform the below steps to make Scented Sachets
Step 1 Prepare Your Fabric Bags

If you’re using fabric scraps, cut them into small squares or rectangles, about 4×4 inches. You can also use pre-made small fabric bags.
Step 2 Fill the Bags
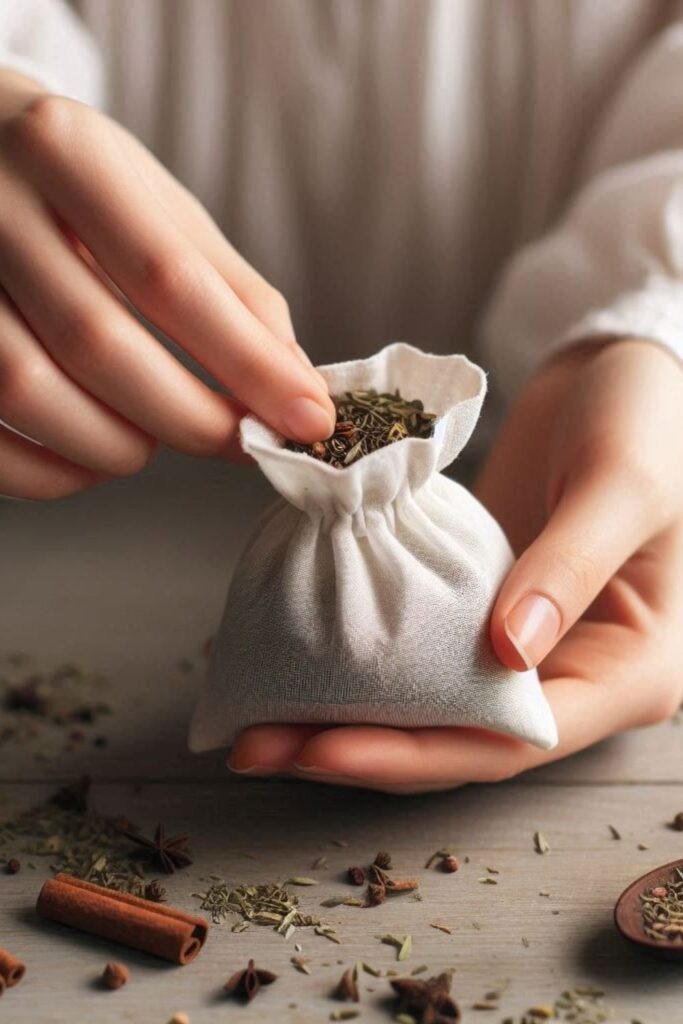
Put a small amount of dried herbs or potpourri into tiny fabric bag. Fill it enough so that it’s slightly puffy but not too tight.
Step 3 Close the Bags

If you’re using fabric scraps, fold the edges over and sew or glue them shut. Make sure the bag is sealed so the scent doesn’t escape.
If you’re using pre-made bags, just pull the d
Step 4 Let the Sachets Sit
Allow the sachets to sit for a few hours or overnight. This helps the scent spread through the fabric.
Step 5 Place the Sachets
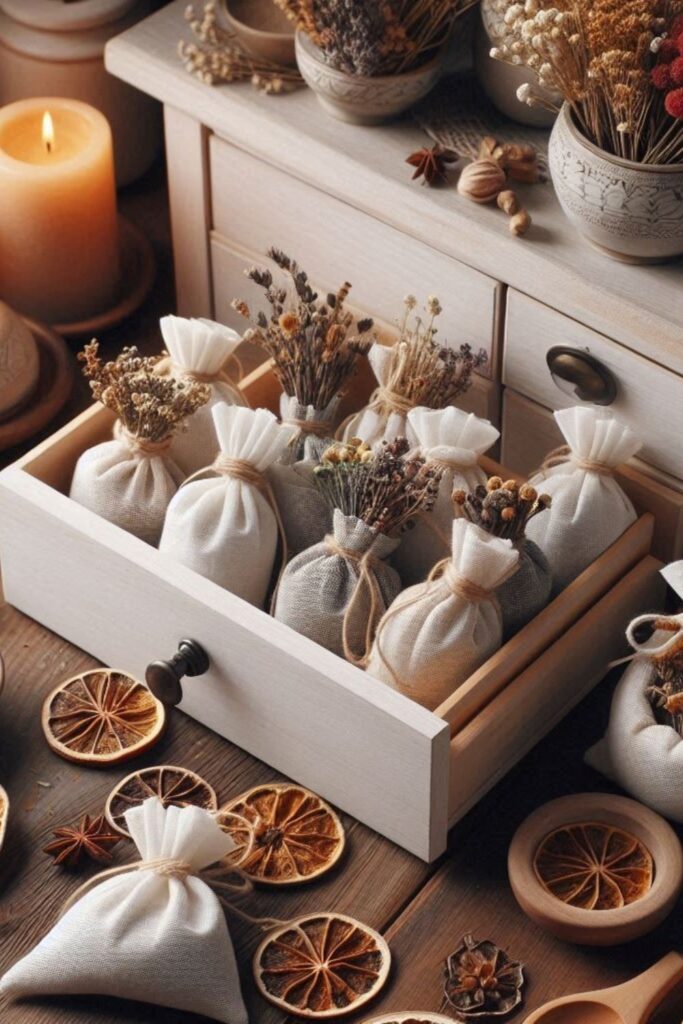
Put the sachets in drawers, closets, or anywhere you want to add a fall scent. You can also tie them to a hanger or place them in decorative bowls.
Tips
Mix Scents Combine different herbs like cinnamon and cloves for a richer scent.
Refresh the Scent If the scent fades over time, gently squeeze the sachet to release more aroma.
Make It a Gift Sachets make great gifts. Simply wrap them in a ribbon or decorative paper.
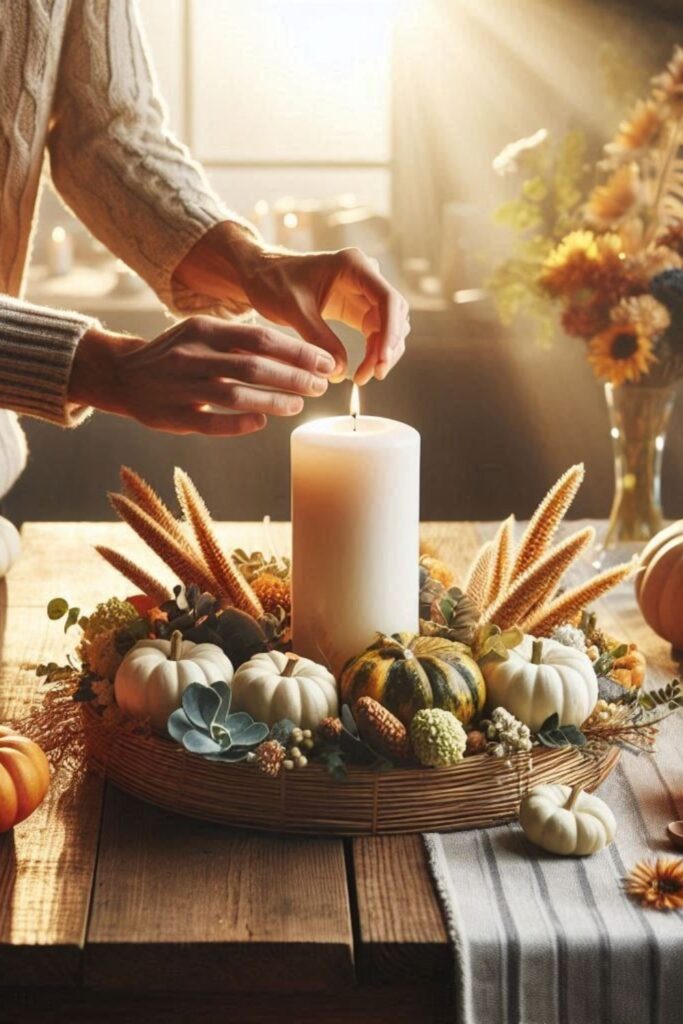
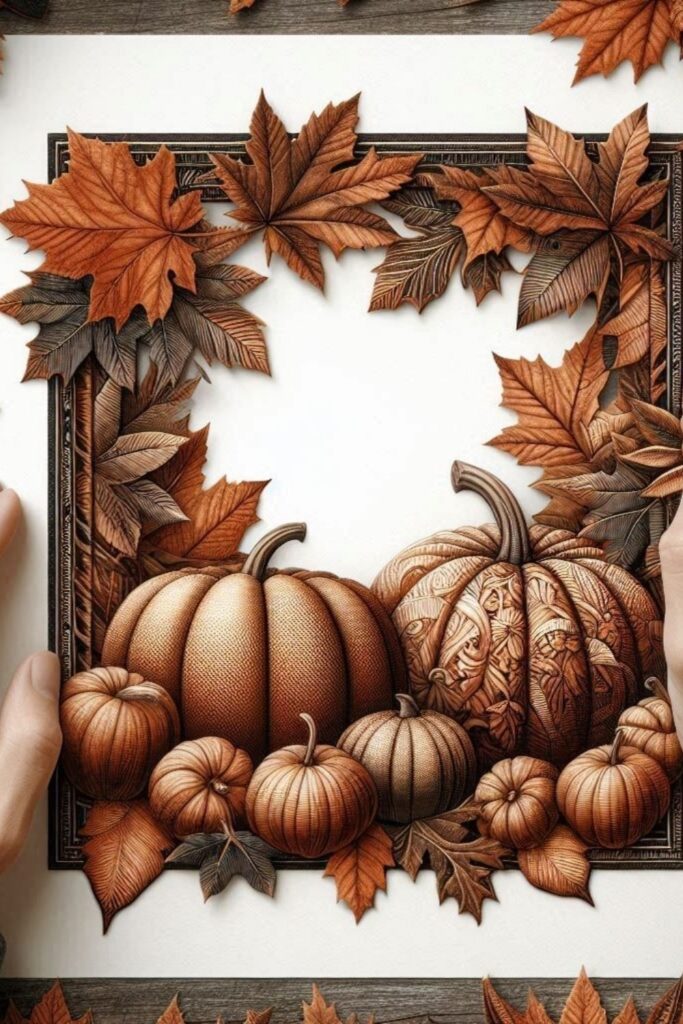
7. Harvest Theme Table Centerpieces
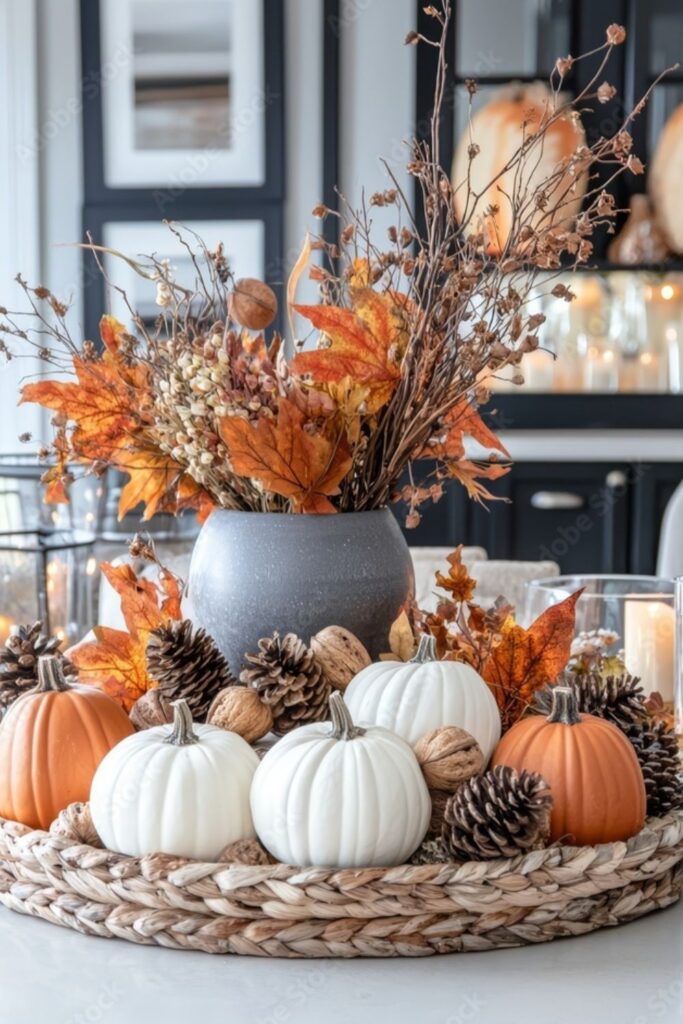
Creating a harvest-themed centerpiece is a great way to decorate your table for fall. Here’s how to make one easily.
This requires materials
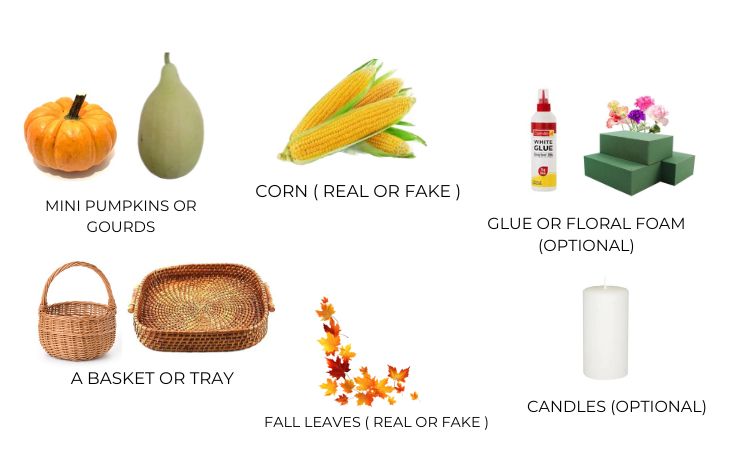
Follow the below steps to make it.
Step 1 Choose a Base

Select a basket or tray as your base. This will hold all your items together.
Step 2 Arrange the Corn
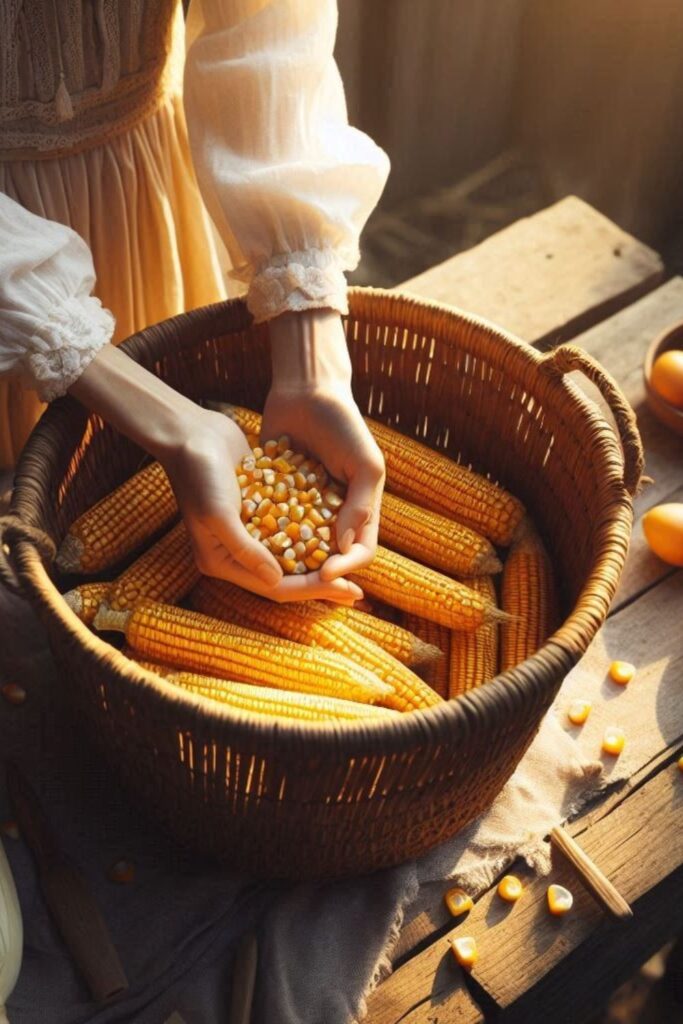
Place the corn at the bottom of the basket or tray. You can arrange them upright or laying down.
Step 3 Add Mini Pumpkins
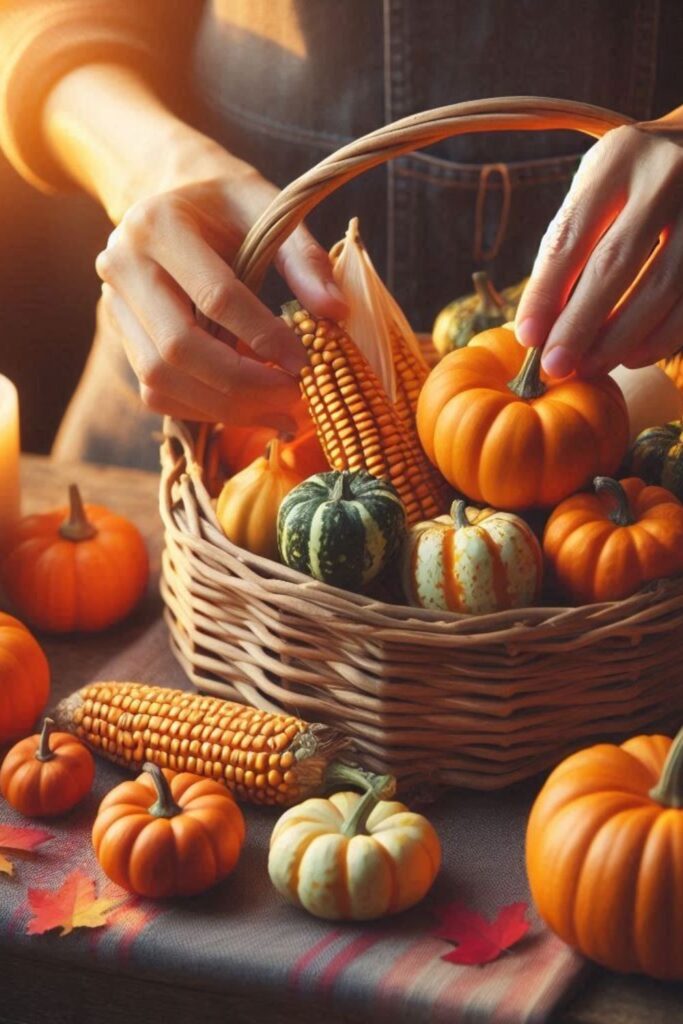
Place mini pumpkins or gourds around the corn. Arrange them in a way that looks full but not crowded.
Step 4 Add Fall Leaves
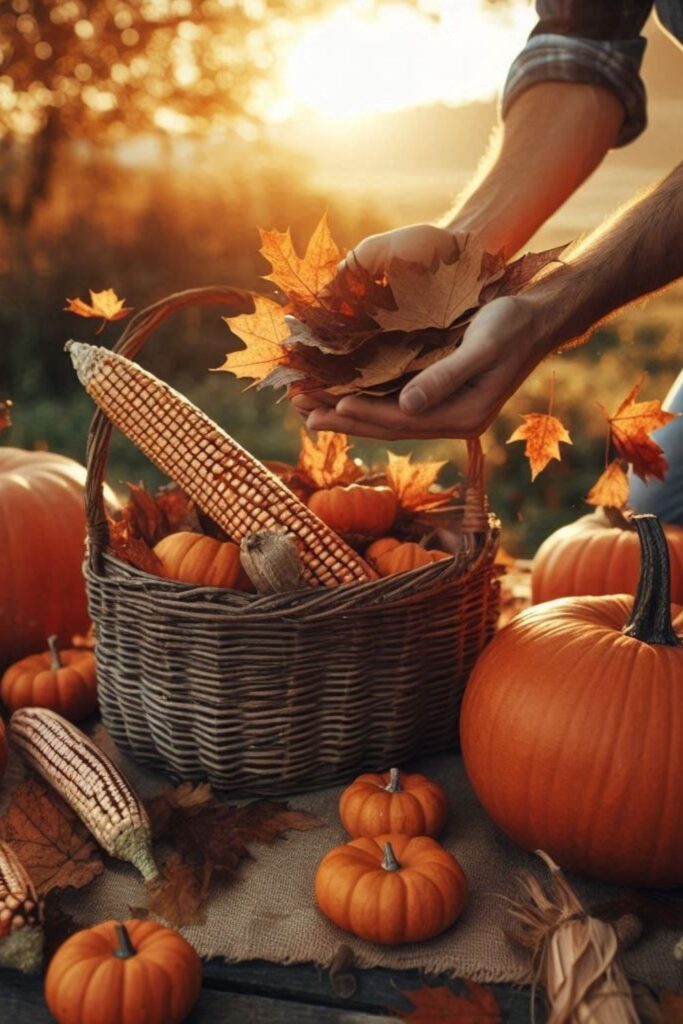
Scatter fall leaves around the pumpkins and corn. You can tuck them between the items or lay them flat.
Step 5 Add Candles (Optional)

If you want, add candles to your centerpiece. You can place them in the center or among the pumpkins. Make sure they are safe and don’t get too close to flammable items.
Step 6 Secure Items (Optional)
If needed, use glue or floral foam to keep items in place. This step is optional but can help if you’re moving the centerpiece around.
Step 7 Place Your Centerpiece
Put your completed centerpiece in the center of your table. Adjust any items as needed to make sure everything looks nice.
8. Personalized Fall Mugs

Creating personalized fall mugs is a fun and easy craft. You can use them at home or give them as gifts. Here’s how to make your own.
What You’ll Need

Here is a full guide to crafting a fall mug
Step 1 Prepare Your Mugs
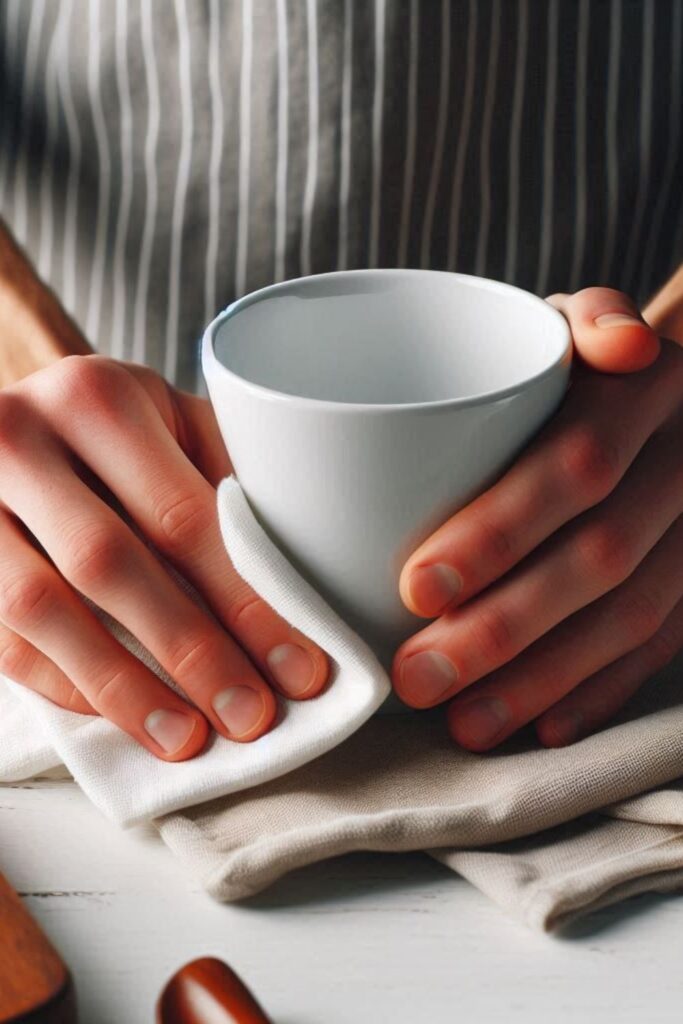
Start with clean, dry mugs. Wipe them down with a damp cloth to remove any dust or dirt.
Step 2 Design Your Mug
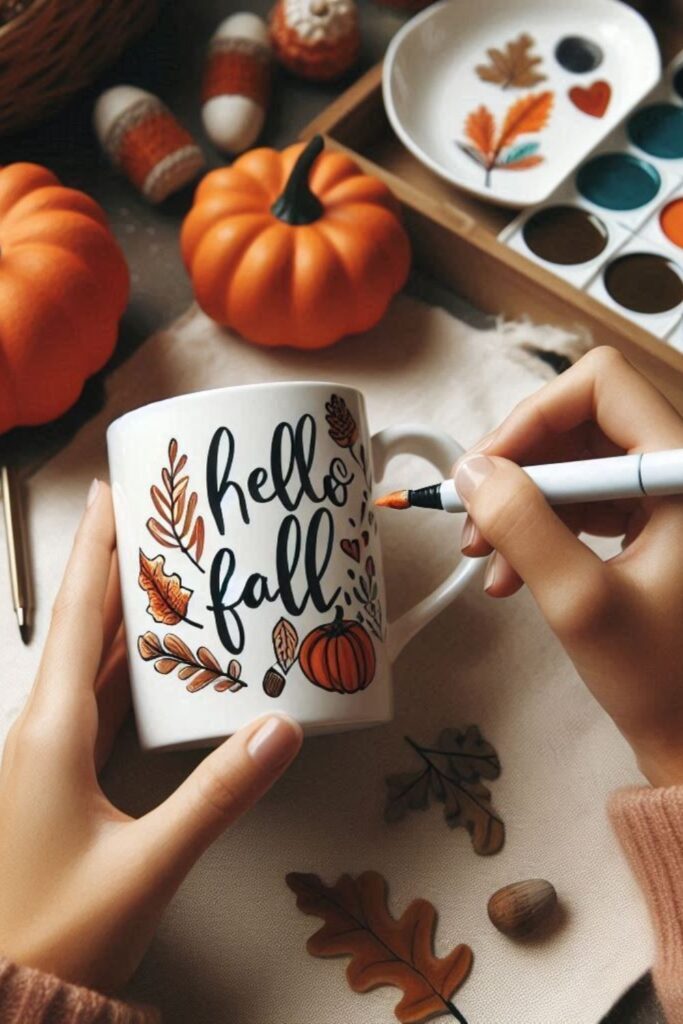
Use paint markers or ceramic paint to draw your fall designs. You can write words like “Hello Fall” or draw leaves, pumpkins, or acorns.
If you want, use stencils to make your designs easier and more uniform.
Step 3 Let the Paint Dry
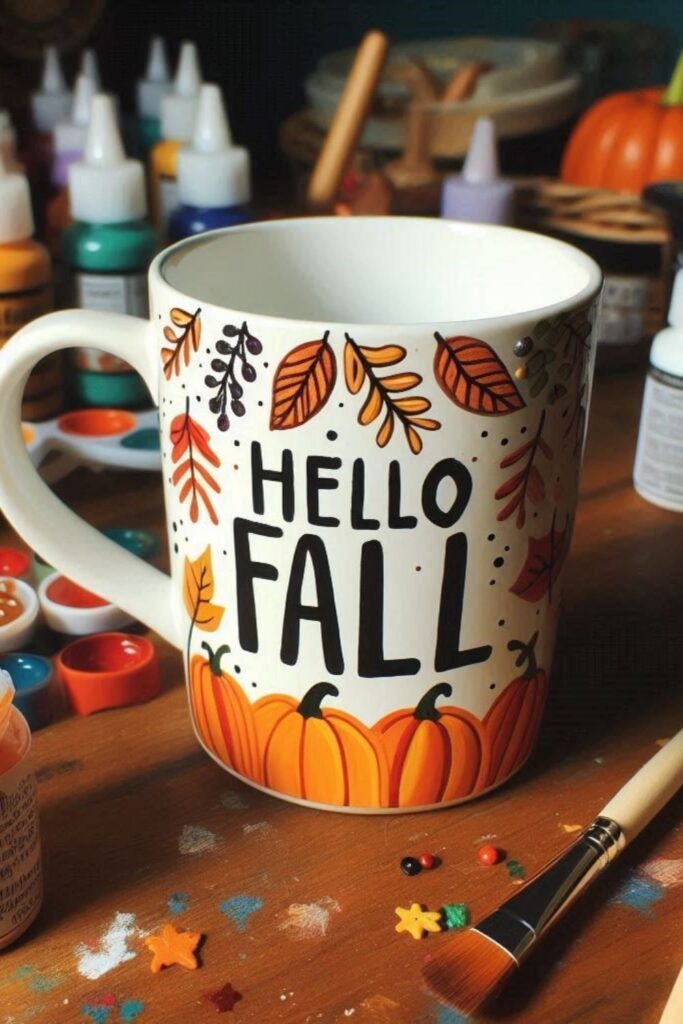
Allow the paint to dry completely before moving on. This usually takes about an hour.
Step 4 Bake the Mugs
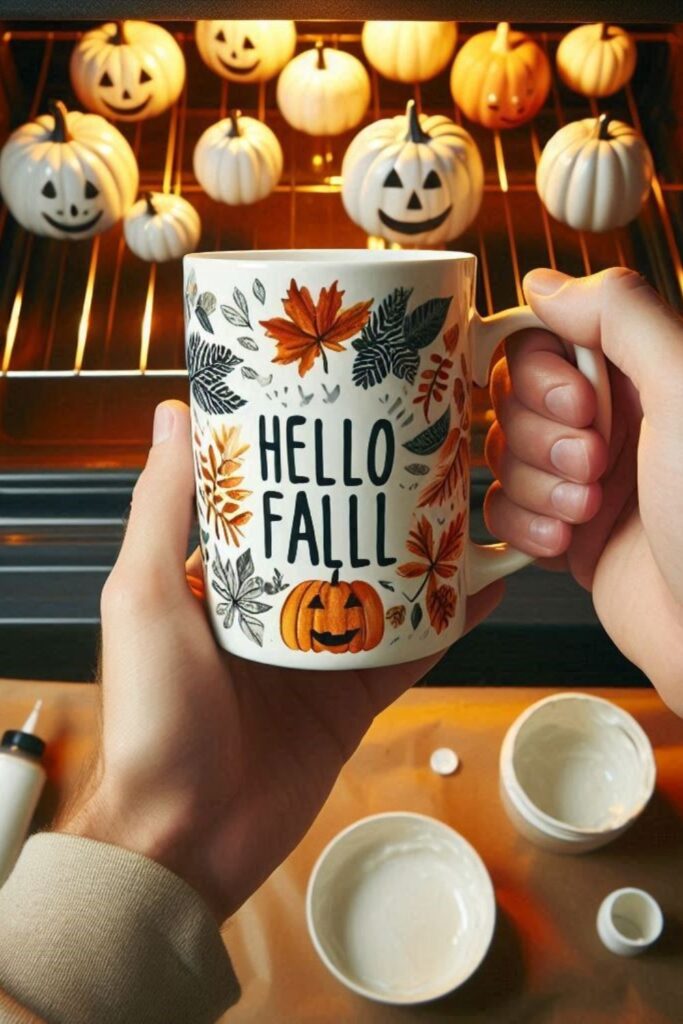
Place the mugs in a cold oven. Set the temperature to 350°F (175°C) and bake for 30 minutes. This helps set the paint so it won’t wash off.
After 30 minutes, turn off the oven and let the mugs cool inside.
Step 5 Use or Gift Your Mugs
Once the mugs are cool, they’re ready to use! You can drink your favorite fall beverages in them or wrap them up as gifts.
Tips
Hand wash only to keep the design looking good, wash the mugs by hand instead of using a dishwasher.
Get creative use different colors and designs to make each mug unique.
Practice first If you’re unsure about your design, practice on paper first.
9. Fall Theme Photo Frames
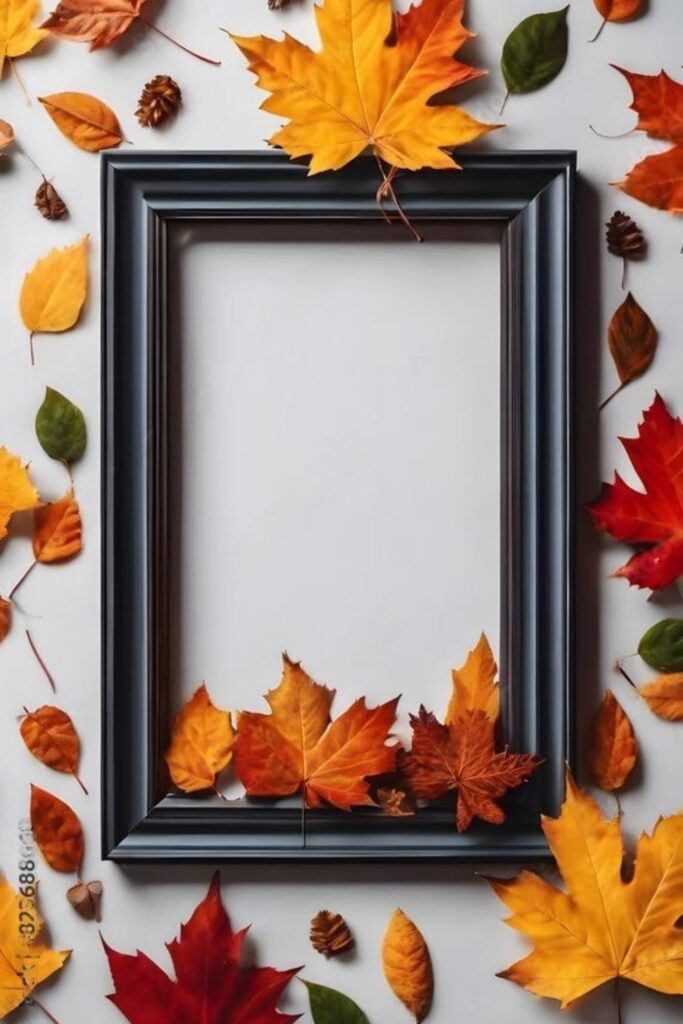
Making fall-themed photo frames is a great way to showcase your favorite autumn photos. Here’s how to create your own.
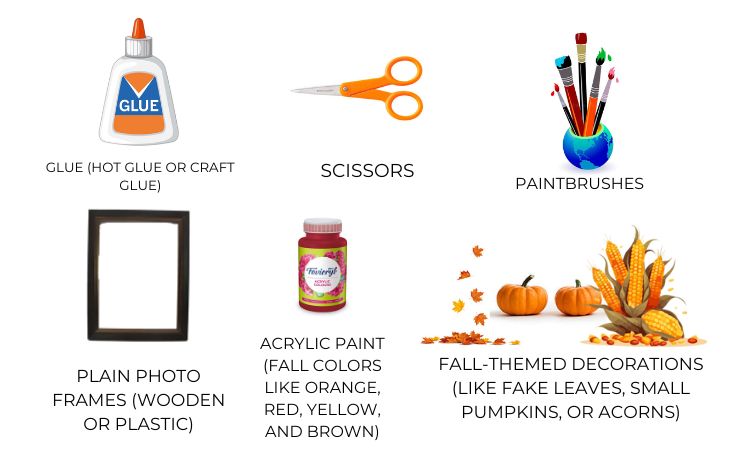
This is what you need to make it
Follow the below steps
Step 1 Prepare Your Frames
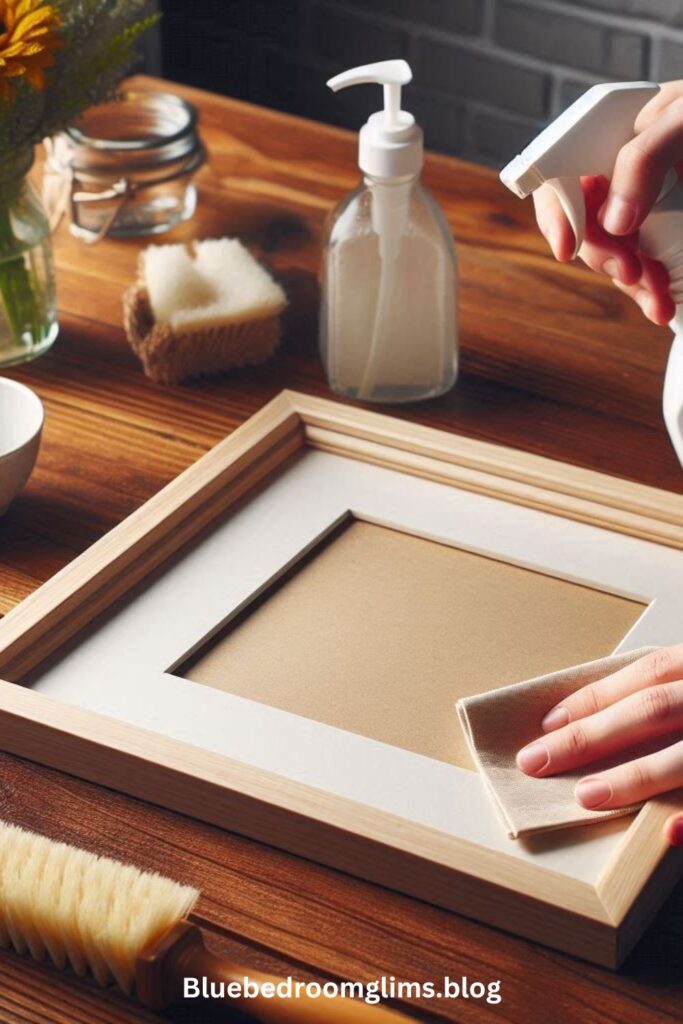
Clean your photo frames to remove any dust. If they have glass, remove it before painting.
Step 2 Paint the Frames
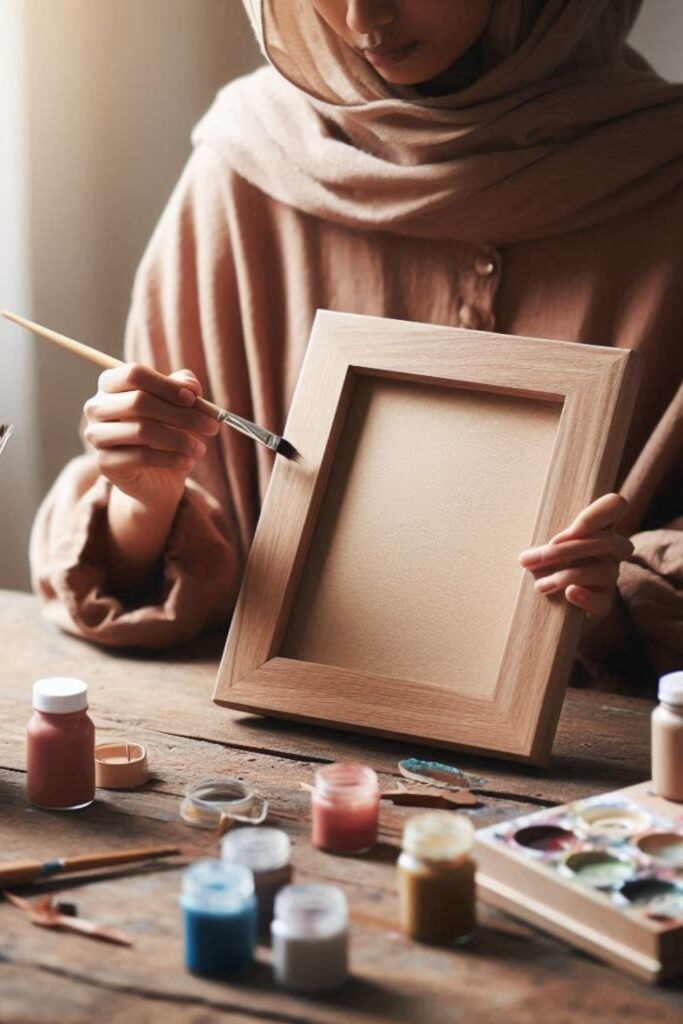
Choose a base color for your frame. Paint the entire frame with this color and let it dry completely. You may need two coats for full coverage.
Step 3 Add Fall Decorations
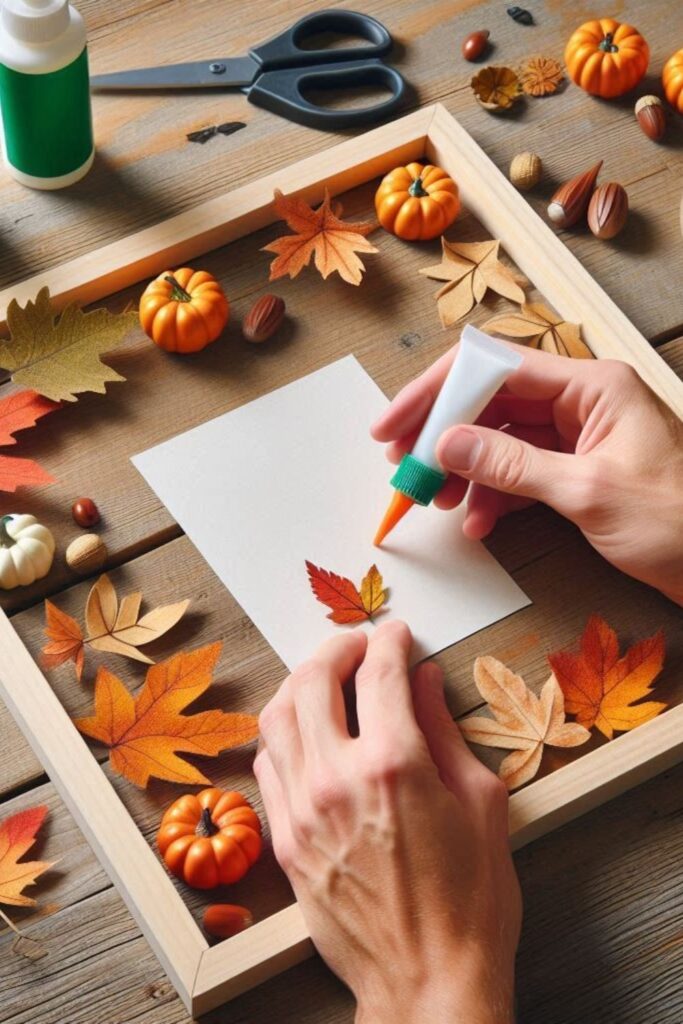
Once the base coat is dry, use glue to attach fall-themed decorations to the frame. You can use fake leaves, small pumpkins, or acorns.
Arrange the decorations where you like, then glue them in place. Hold them for a few seconds until the glue sets.
Step 4 Let Everything Dry

Allow the glue and paint to dry completely before handling the frame. This usually takes about an hour.
Step 5 Insert Your Photo

Once everything is dry, put your favorite fall photo back into the frame. Reattach the glass if you removed it.
Step 6 Display Your Frame
Place the frame in a spot where you can enjoy it, like on a table, shelf, or wall.
10. Diy fall craft ideas for Wall Art

Creating autumn-inspired wall art is a fun way to decorate your home for the season. Here’s how to make your own.
Require materials to make it

How you can make it
Step 1 Prepare Your Workspace
Set up a clean area to work. Lay down newspaper or a drop cloth to protect your surfaces.
Step 2 Choose Your Design

Decide on a simple autumn theme for your wall art, like leaves, pumpkins, or a fall scene.
You can sketch your design lightly with a pencil.
Step 3 Paint the Background
Paint the entire canvas or paper with a base color for your background. You might choose a soft color like light orange or beige.
Let it dry completely.
Step 4 Add Your Design
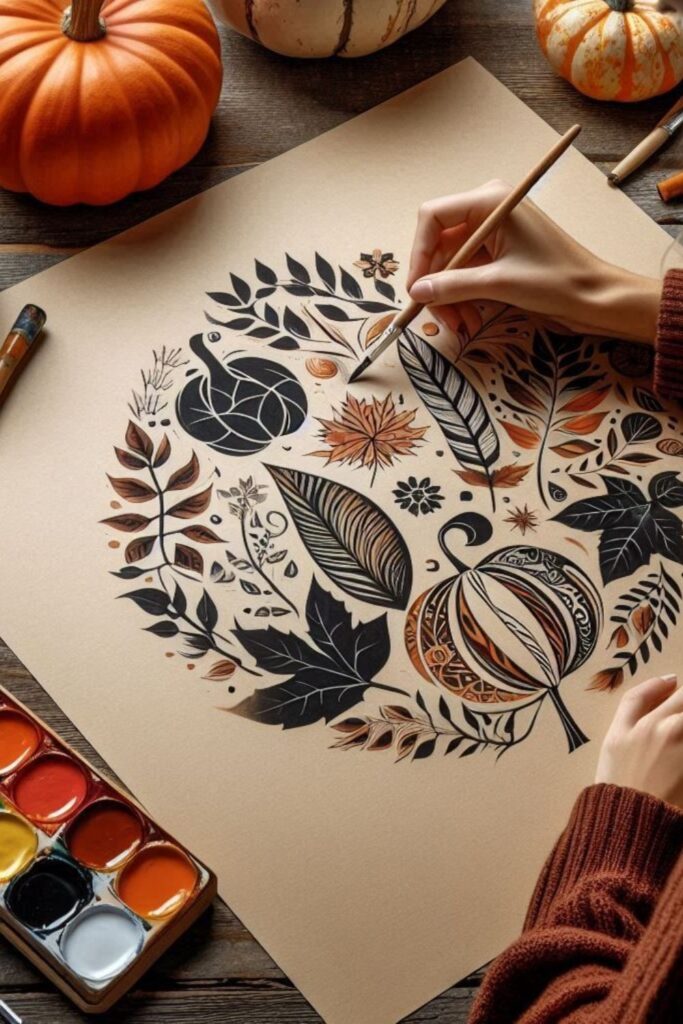
Once the background is dry, start painting your autumn design. Use fall colors to create leaves, pumpkins, or any other fall elements.
Use a smaller brush for details and a larger brush for bigger areas.
Step 5 Add Details
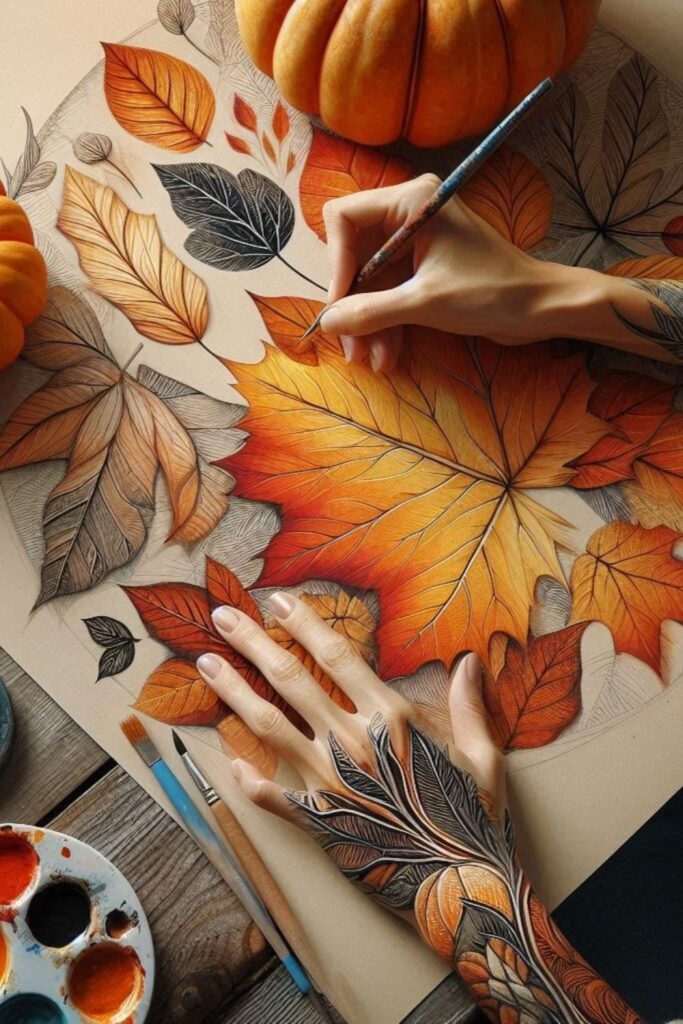
After the main design is painted, add details like veins in leaves or texture on pumpkins. Let each layer dry before adding more details.
Step 6 Let Everything Dry
Allow your painting to dry completely before handling it. This can take a few hours depending on how thick the paint is.
Step 7 Frame Your Art (Optional)
If you want, you can frame your artwork. Choose a frame that matches your decor and carefully place your art into the frame.
Step 8 Hang Your Art

Find a spot on your wall to hang your autumn-inspired art. Use nails or hooks to securely hang it.
Tips
Use Stencils If you want a more precise design, use stencils for your shapes.
FAQ
What materials are best for fall crafts?
Use items like leaves, pumpkins, and warm colors.
How can I make my crafts last longer?
Store them properly and handle them with care.
What are some eco-friendly crafting options?
Use recycled materials and avoid single-use items.
How can I involve my family in fall crafting?
Choose easy projects and make it a fun activity for everyone.
Conclusion
I hope these 10 DIY fall craft ideas inspire you to create something beautiful for this fall season.
Fall season is all about cozy clothes, warm drinks, and colorful leaves. The air gets cooler, and the trees turn orange, red, and yellow.
It’s the time for pumpkin spice, apple picking, and enjoying the change in nature.
Fall is also when people come together, celebrate, and get ready for the holidays.
if you like this guide then don’t forget to leave your thoughts in the comment section, I would love to read it.
if you want to ask me about DIY fall craft ideas, reach out to me by contacting us page, and I will be there to help you.