Are your shoes taking over your space? Tired of tripping over them every morning? Building a DIY shoe rack is easier than you think!
In just five simple steps, you can create a stylish and functional storage solution that keeps your shoes organized and your home clutter-free.
Whether you have a small entryway or a spacious closet, this shoe rack project will fit your needs perfectly.
How to build an easy diy shoe rack
Follow the below guide for diy shoe rack. before that learn more what material require for diy shoe rack.
What you need

- Wood (you can use plywood, MDF, or reclaimed wood)
- Two side pieces (for the height)
- Top and bottom pieces (for stability)
- Several shelves (determine how many based on your needs)
- Wood screws or nails
- Wood glue (optional, for extra strength)
- Sandpaper (medium and fine grit)
- Paint or wood stain (optional, for finishing)
- Paintbrush or roller (if using paint or stain)
- Measuring tape
- Saw (hand saw or power saw)
- Drill (with drill bits)
- Level (to ensure shelves are even)
- Clamps (optional, to hold pieces together while the glue dries)
Follow below Step-by-Step for diy shoe rack
Step 1 Planning

Measure Your Space
Before diy shoe rack, decide where you want to place your shoe rack in your home.
Then, measure the area to see how much space you have.
Use a tape measure to find the width, height, and depth of the spot.
These measurements will help you determine the right size for your shoe rack.
Make sure to leave some extra space around it for easy access. Knowing your available space will ensure your new rack fits perfectly where you want it!

Decide the Size
Consider how many pairs of shoes you want to store when designing your shoe rack.
A common height for a shoe rack is about 36 inches, and a width of around 30 inches works well for many homes.
However, you can change these measurements to fit your needs.
If you have more shoes, you might want a taller rack with more shelves.
Make sure to choose a size that fits your space and holds all your shoes comfortably!

Sketch a Design
Start by sketching a simple design for your shoe rack on paper.
Draw the basic shape and layout, including where the shelves and sides will go.
Be sure to include the dimensions of each part, such as the height, width, and depth.
This will help you visualize the finished rack and plan how much wood you need.
A clear plan makes building easier and helps ensure everything fits together perfectly!
Step 2 Cut the Wood

Cut the Pieces
Using a saw, cut your wood to the sizes you need based on your design. You typically need two side pieces, a top piece, a bottom piece, and shelves.
Example Measurements (adjust based on your needs):
- Side pieces: 36 inches tall
- Top and bottom pieces: 30 inches wide
- Shelves: 28 inches long (leave space for the side pieces)
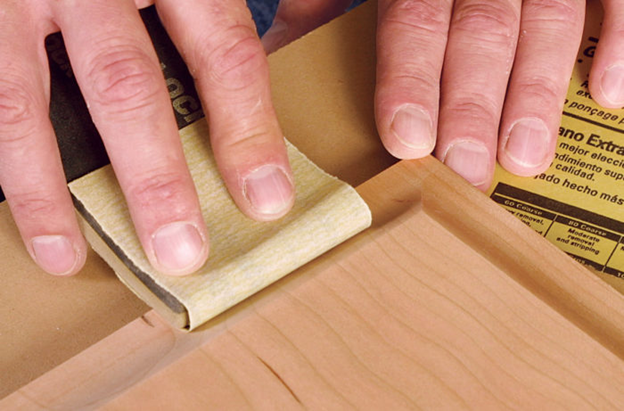
Sand the Edges
Use medium-grit sandpaper for rough edges, then fine-grit sandpaper for a smooth finish. Be careful and sand in the direction of the wood grain.
Step 3 Assemble the Rack
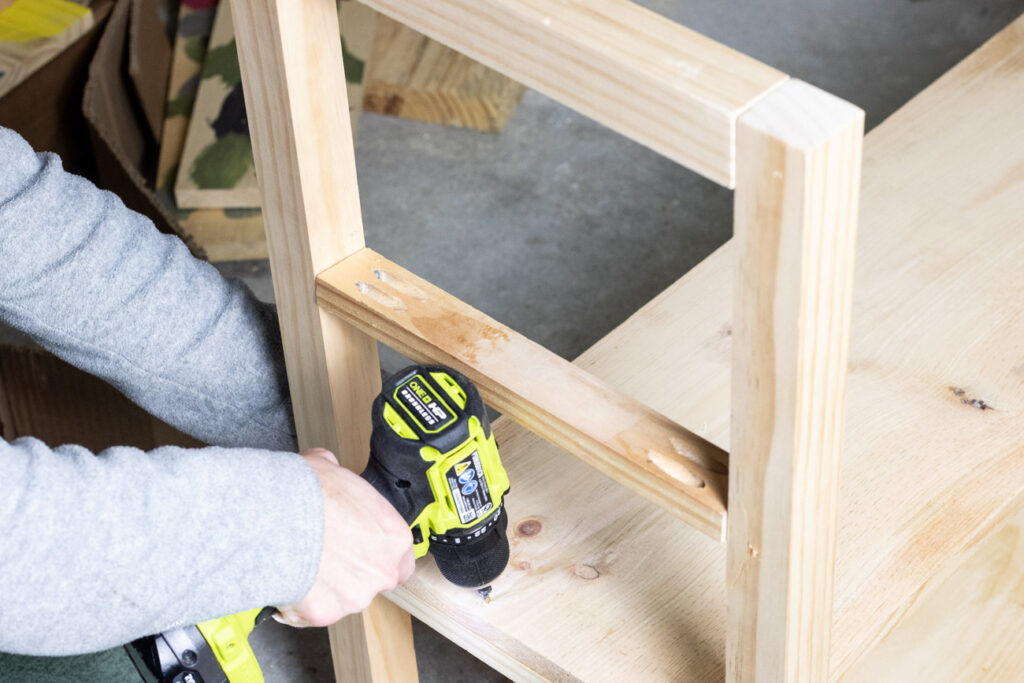
Attach the Bottom Piece
Lay the two side pieces of your shoe rack on your work surface. Next, attach the bottom piece using screws.
It’s a good idea to pre-drill the holes first to avoid splitting the wood.
If you want extra strength, you can also use wood glue along with the screws.
This will help your rack stay sturdy!

Add the Top Piece
Repeat the process to attach the top piece.

Insert Shelves
Decide how far apart you want the shelves, depending on the types of shoes you will store (e.g., sneakers may need more space than sandals).
- Shelf Placement:
- Mark where the shelves will go on the side pieces.
- Use a level to ensure that the shelves will be even.
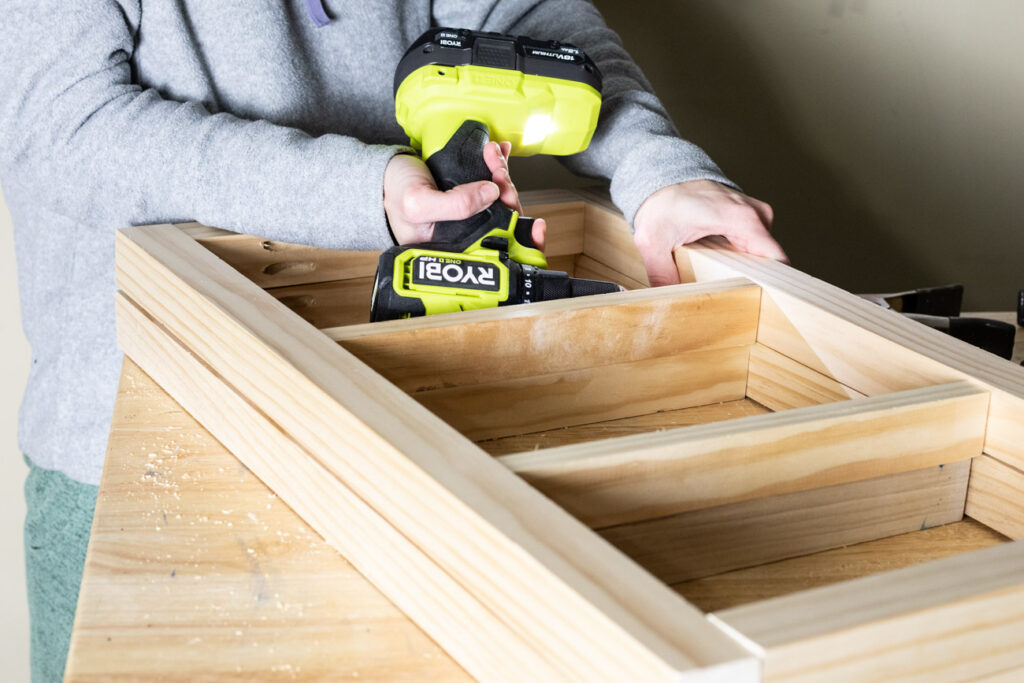
Secure the Shelves
Depending on your design, you have a few options for securing the shelves on your shoe rack.
You can screw the shelves directly into place for a stable setup.
Alternatively, if you want to change the shelf height, you can use brackets that hold the shelves securely but allow for adjustments.
If you prefer a flexible design, you can also leave the shelves unanchored, which lets you move them around easily.
Choose the option that works best for your needs and style!
Step 4 Finishing Touches
Check Stability
Make sure everything on your shoe rack is tight and secure.
Check that all screws and fasteners are properly tightened so nothing is loose.
The rack should be able to hold your shoes without wobbling or tipping over.
A sturdy rack will keep your shoes safe and organized. If you find any loose parts, fix them before using the rack.
This will help ensure that your shoe rack lasts a long time and works well for your needs!
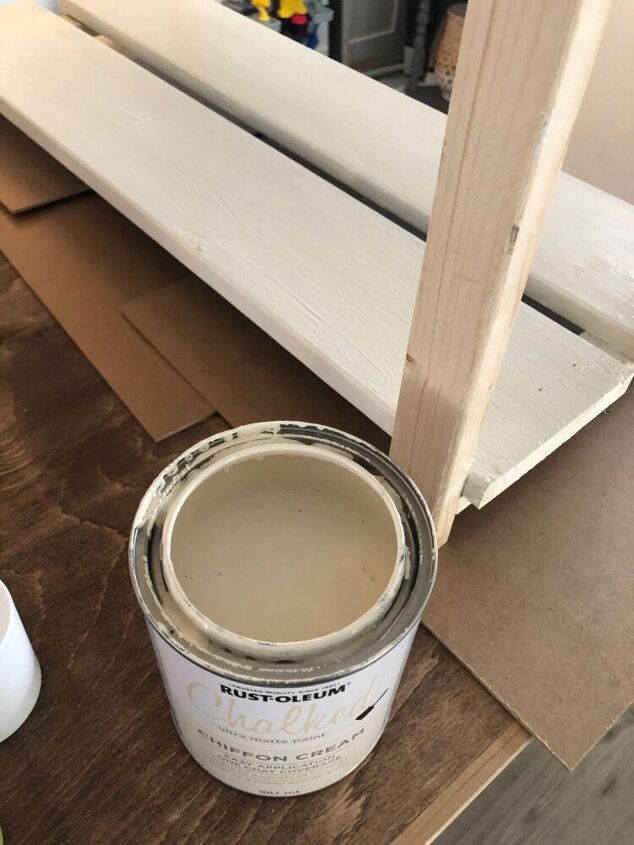
Paint or Stain
If you want to finish your shoe rack, now is the time to do it. Pick a paint or wood stain that matches your home’s style.
When you apply it, use a brush or roller to spread it evenly across the surface.
Make sure to cover all the areas well. After you’ve finished painting or staining, let the rack dry completely before using it.
This will help give your shoe rack a nice look and protect the wood!
Optional Coat
If you used stain on your wood, it’s a good idea to apply a clear topcoat.
This topcoat helps protect the wood from scratches, moisture, and dirt.
It also makes the color of the stain look better and last longer.
You can choose from different types of topcoats, like polyurethane or varnish, depending on how shiny you want the finish to be.
Applying a clear topcoat is an easy way to keep your stained wood looking nice for a long time.
Step 5 Place Your Shoe Rack
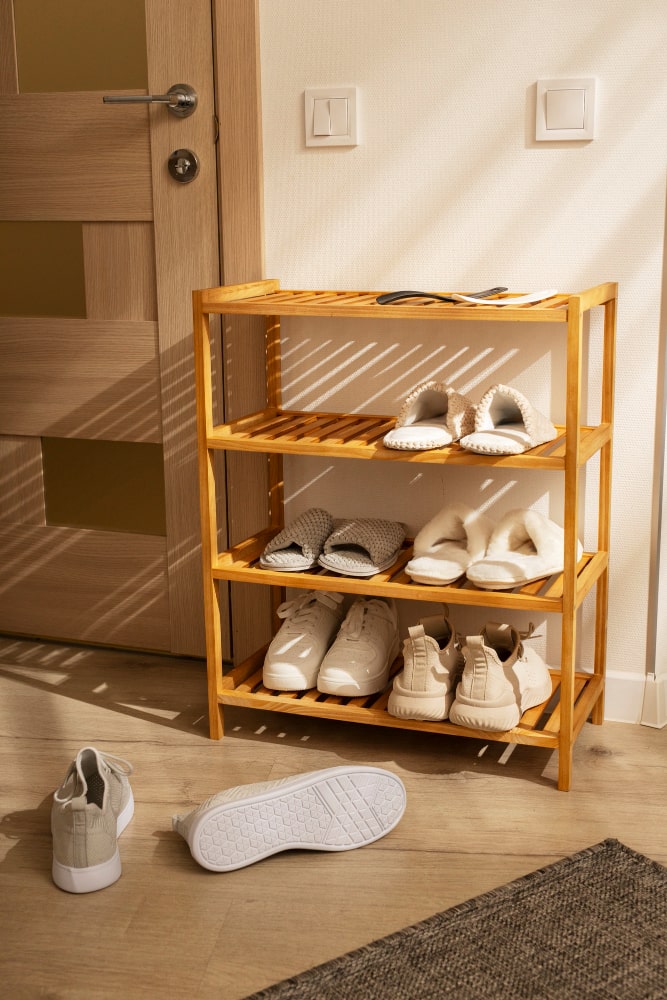
Choose the Right Spot
Deciding where to place your shoe rack is important.
Identify areas in your home where shoes often pile up, like the front door or in a spacious closet.
If guests frequently use a specific entryway, putting the rack nearby can help everyone store their shoes easily.
Also, consider the style of your rack: decorative ones can be displayed, while functional ones may fit better in a closet.
Choose a spot that works for your lifestyle and keeps shoes accessible!
Fill with Shoes
Start organizing your shoes to make it easier to find what you need.
You can sort them by type, like sneakers, boots, or sandals.
Another option is to arrange them by season, keeping winter shoes together and summer footwear in another spot.
Choose the method that works best for you to keep your space tidy and efficient!
Tips for Customization
Add a Shoe Lid or Benches: If you want extra features, consider adding a lid for storage above the shoes or a bench seat on top.
Decorate: You can add hooks on the sides for bags or umbrellas, or even paint designs on the front.
Adjustable Shelves: Use shelf pins to create adjustable shelves for different shoe heights.
FAQ
What type of wood is best for a shoe rack?
Pine, plywood, or MDF are great options for durability and ease of use.
How much does it cost to build a shoe rack?
Expect to spend between $30 and $100, depending on materials.
How many pairs of shoes can a shoe rack hold?
Typically 10-20 pairs, depending on shelf size and spacing.
Are there any special tools needed?
Basic tools needed include a saw, drill, measuring tape, and sandpaper.
What if I want to use materials other than wood?
Metal, PVC, or repurposed furniture can also work well.
How do I make the shoe rack more stable?
Secure screws tightly and consider a back panel or wall anchoring.
Conclusion
This diy shoe rack project is customizable to fit your needs, and with all the options available for materials and designs, you can make it as unique as you like.
I hope this Diy shoe rack guide help you to build your own shoe rack. if like this guide then dont forget to rate and comment down below.
If you have any question feel free to ask to me. you can reach out to me by contact us page. see you there.

