Want to know about inexpensive porch ceiling ideas, but don’t want to spend a lot of money on this, Here I will show you how you can make a pop of color or a cozy, rustic feel porch ceiling that will change your outdoor space on a budget.
From bright paint to stylish tin tiles, find here twenty cheap and beautiful ideas that will transform your porch. Find the perfect look for your home without breaking the bank!
10 Easy Inexpensive Porch Ceiling Ideas
Here are inexpensive porch ceiling ideas to help you create the perfect ceiling for your home.
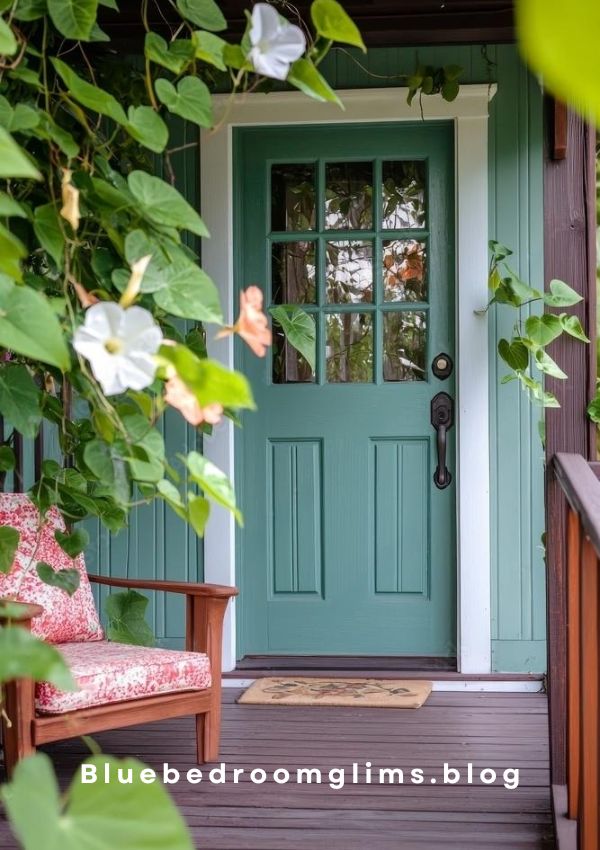
Step 1 Add a pop of color or a calming shade to the porch ceiling.
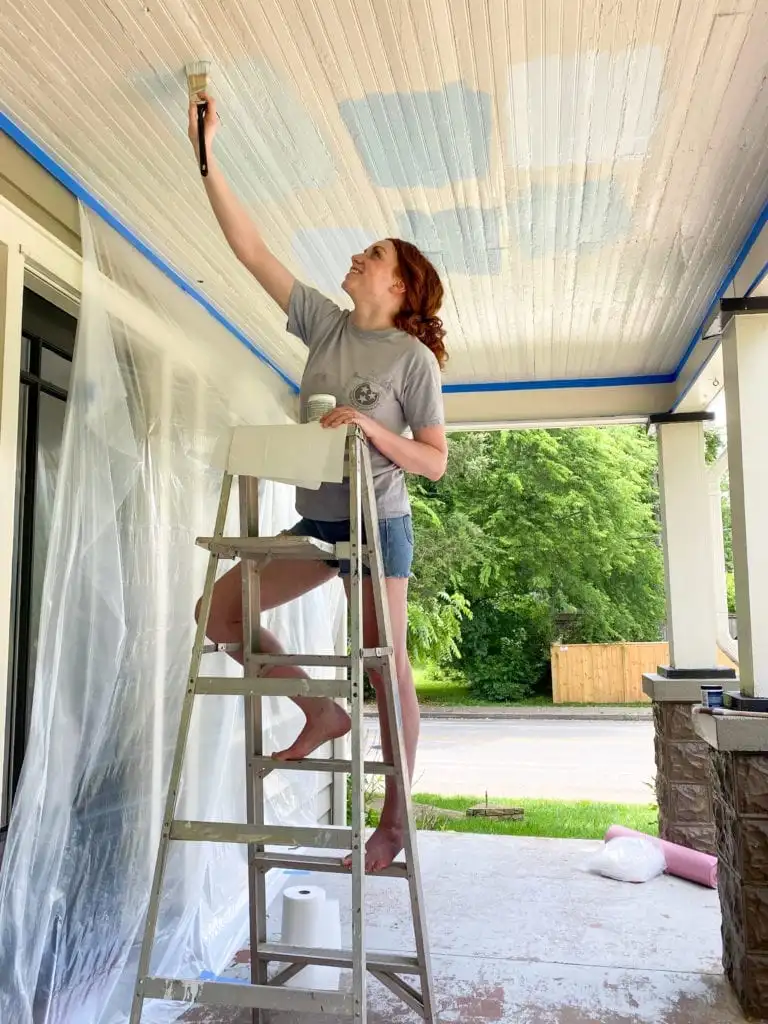
Coloring porch by yourself also come in inexpensive porch ceiling ideas.
Painting your porch ceiling is one of the easiest and most affordable ways to transform your outdoor space.
The right color can make a significant impact on how your porch feels.
Bright, vibrant colors can add energy and excitement, making the space feel more lively and inviting.
On the other hand, calming shades like soft blues or gentle greens can create a relaxing and serene atmosphere, perfect for unwinding after a long day.
When choosing a paint color, consider the overall look you want to achieve.
A pop of color can draw attention to your porch ceiling and make it a focal point.
For a more cohesive and tranquil feel, select a color that complements the rest of your home’s exterior.
It’s important to use weather-resistant paint for this project.
Outdoor spaces are exposed to the elements, and weather-resistant paint ensures that your porch ceiling will look great for years to come, standing up to sun, rain, and temperature changes.
Look for paint that is specifically designed for outdoor use, as it will adhere better and last longer.
With a little effort and a few cans of paint, you can quickly and easily give your porch ceiling a fresh new look that enhances your outdoor living space.
Step 2 Inexpensive porch ceiling ideas for wood and finishing
When selecting wood for your porch ceiling, it’s important to choose the right type of wood for durability and longevity.
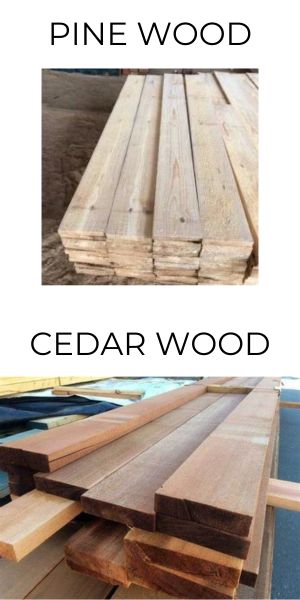
Softwoods like pine or cedar are popular choices because they’re relatively affordable and easy to work with.
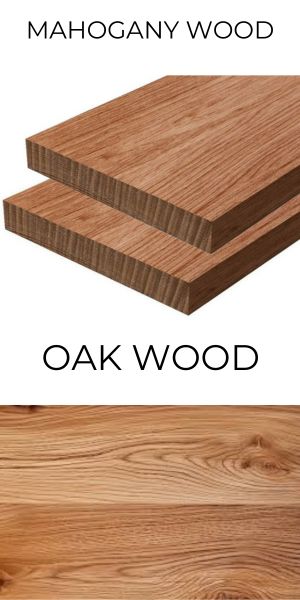
However, for more durability, consider hardwoods like oak or mahogany.
These types of wood are more resistant to wear and tear, though they can be pricier.
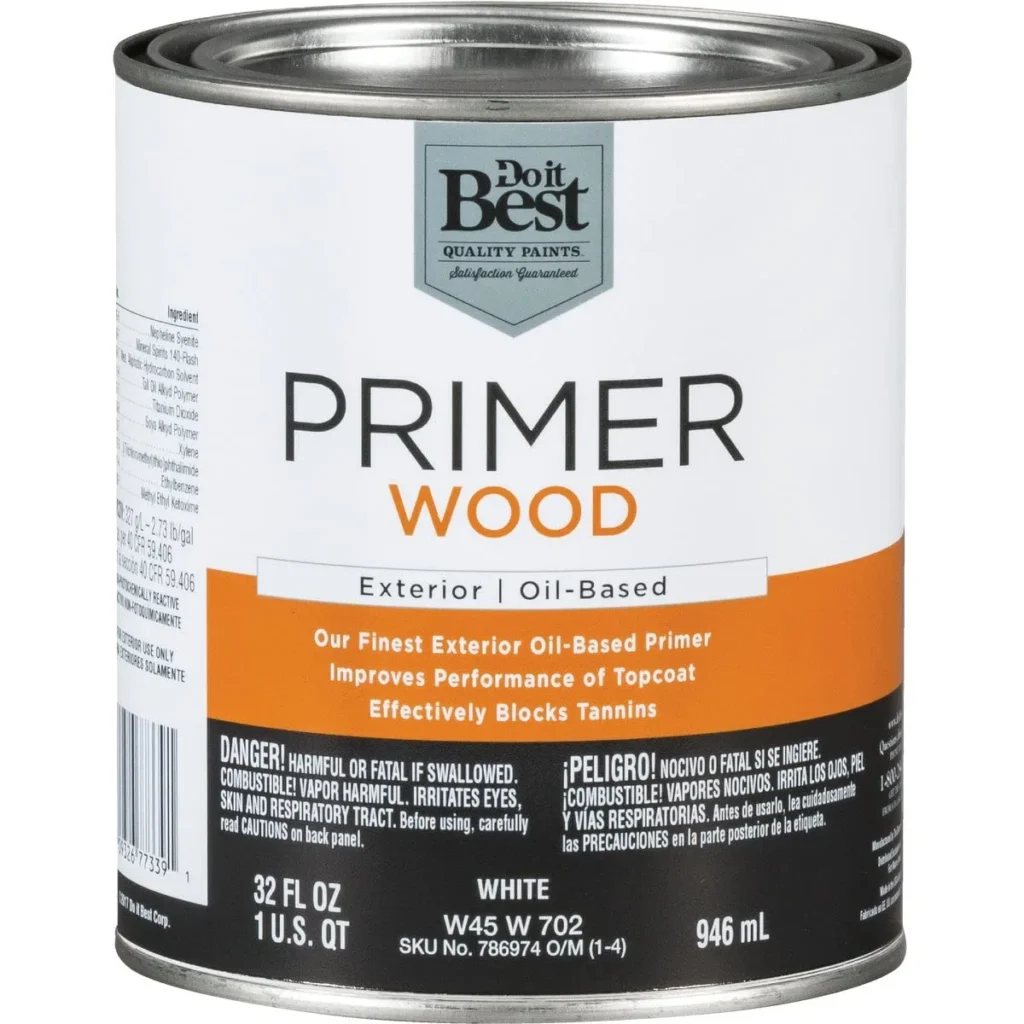
Once you’ve chosen the wood, finishing is crucial to protect it from the elements.
Start with a good-quality wood primer to help the finish adhere better and provide an extra layer of protection.
Above I have mentioned good quality wood primer that you can go for. you can get it from Amazon.
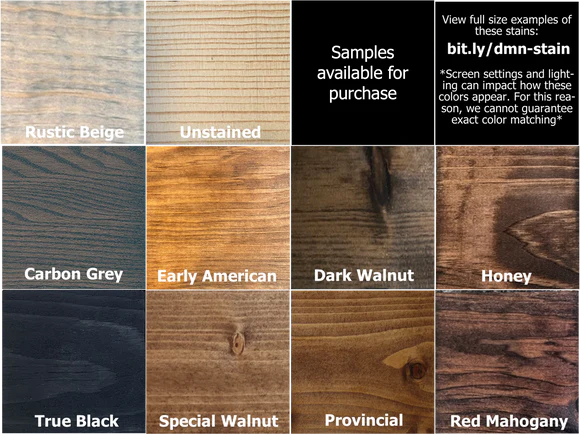
After priming, use a weather-resistant wood stain or sealant to protect the wood from moisture, UV rays, and temperature changes.
Stains can enhance the natural beauty of the wood while providing protection. Sealants create a clear protective barrier, keeping the wood looking fresh and new.
Make sure to apply the finish in a well-ventilated area and follow the manufacturer’s instructions for application and drying times.
Regular maintenance, such as reapplying the finish every few years, will help keep your porch ceiling looking great and extend its lifespan.
With the right wood and finishing techniques, your porch ceiling will remain durable and beautiful for years to come.
Step 3 Get Beadboard Ceilings
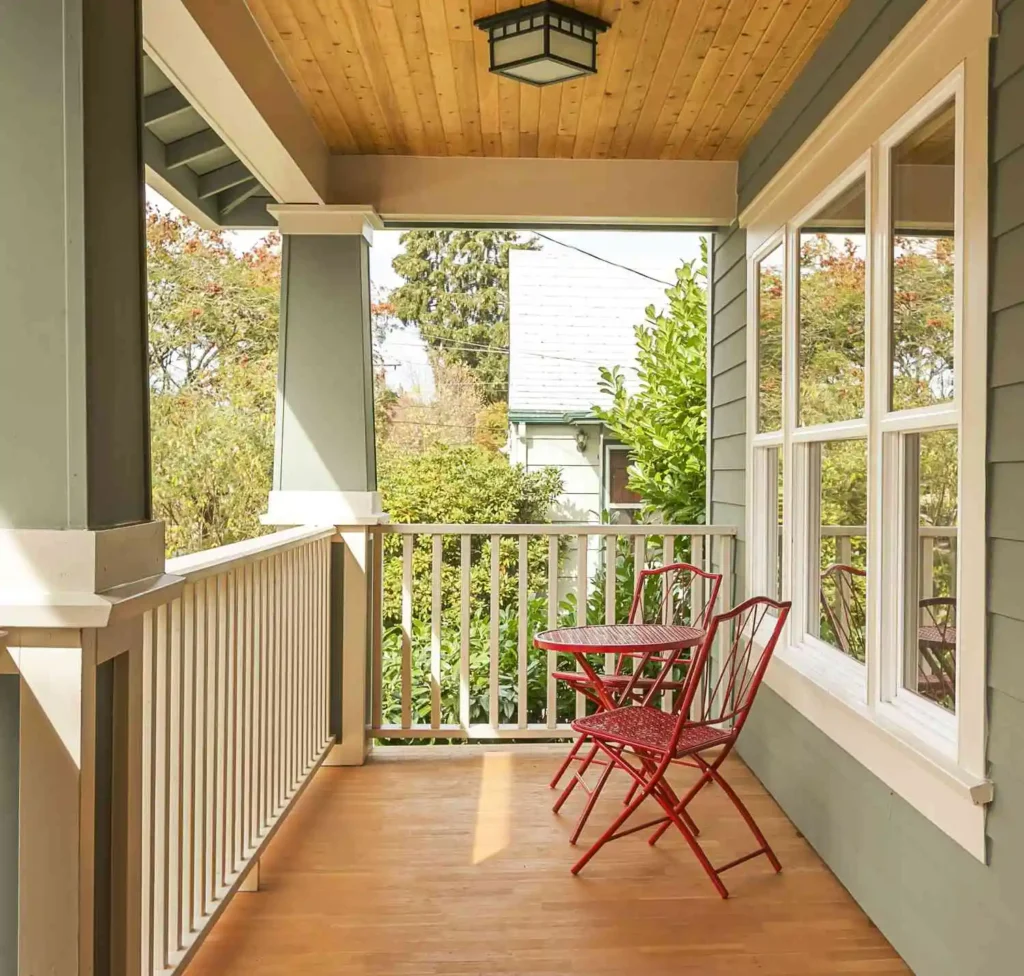
Beadboard is something which gives elegance look and make inviting cozy porch
It is also budget-friendly, making it a great option if you want to enhance your outdoor space without spending a lot.
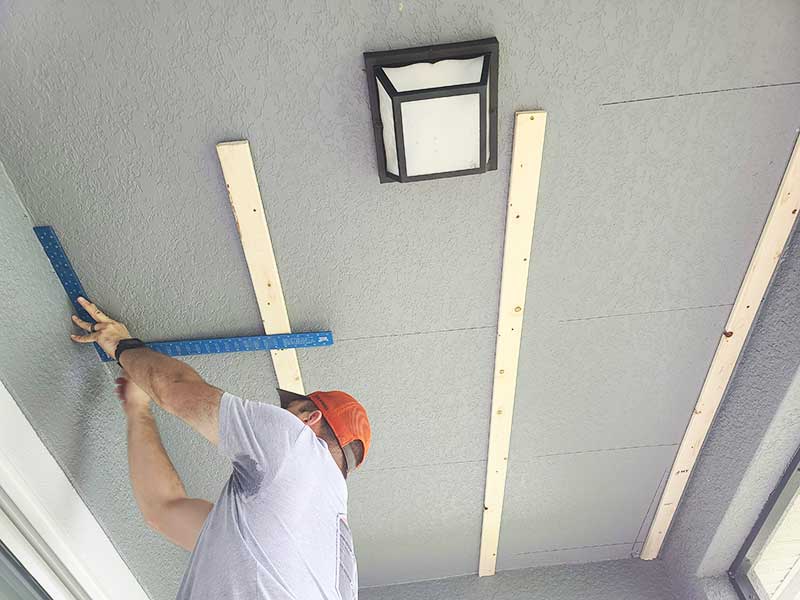
When it comes to installing a beadboard, start by measuring your porch ceiling to calculate how many panels you will need.
Beadboard panels come in various sizes, so choose the ones that fit your space best. Before installation, make sure your ceiling surface is clean, dry, and smooth.
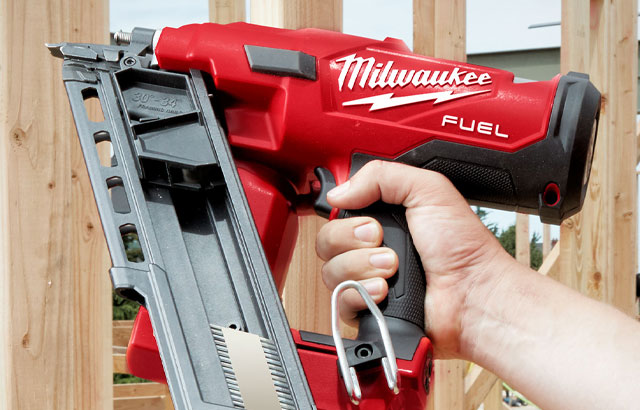
Attach the panels to the ceiling joists using a nail gun or screws, making sure they’re evenly spaced and aligned.
For maintenance, beadboard is relatively easy to care for. Regularly dust and clean the surface to keep it looking fresh.
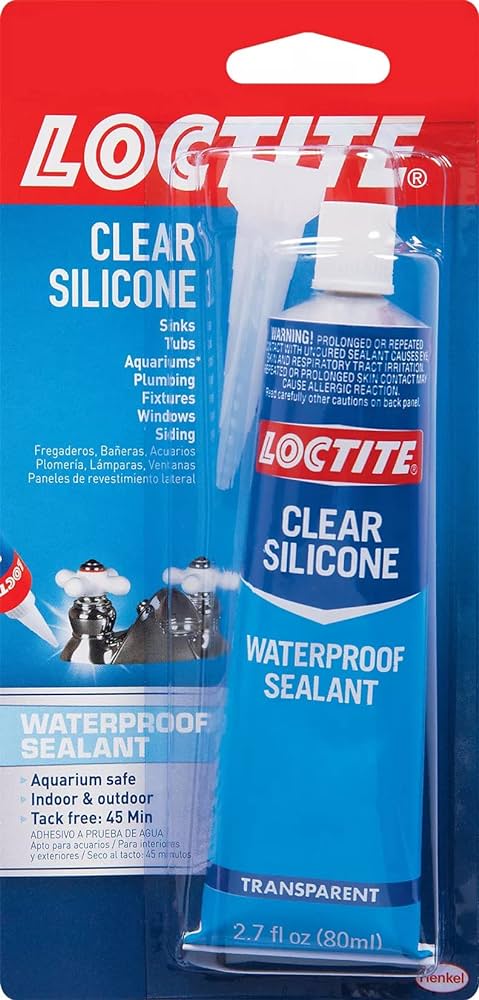
If you’re using wood beadboard, consider applying a sealant or protective finish to guard against moisture and extend its life.
Repainting or staining every few years can help maintain its appearance and protect it from wear and tear.
With proper installation and maintenance, beadboard can add lasting beauty and value to your porch.
Step 4 Select tin tiles
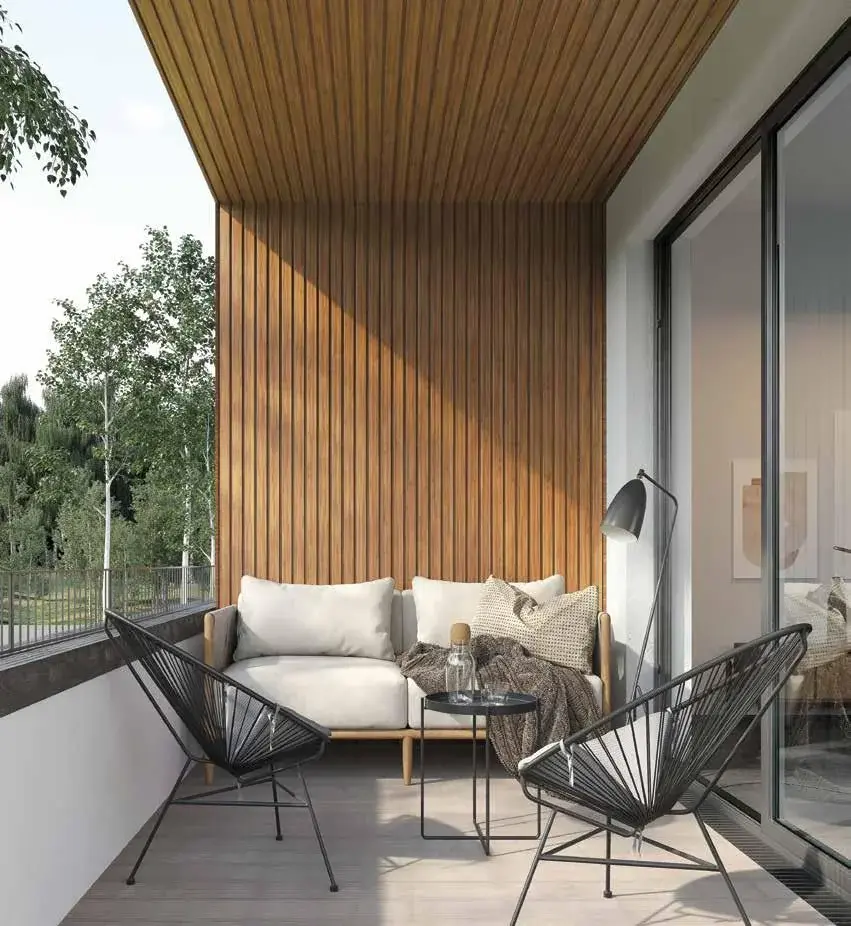
Tin tiles are an excellent choice for a porch ceiling, becouse it provides aesthetic look, it also add brightness to the porch area, making it feel more open and inviting.
There are different variety of patterns and finishes available allows you to create a unique look from vintage charm to modern elegance.
One of the key advantages of tin tiles for porch ceilings is their durability.
Tin tiles are resistant to moisture and humidity, which is especially important for outdoor spaces.
They won’t warp, crack, or mold, ensuring that your porch ceiling remains in good condition for many years.
The installation process for tin tiles is very simple.
You can also do by yourself. The best thing tiles are lightweight, making them easy to handle and install.
They can be attached directly to an existing ceiling structure using nails or adhesive.
This installation means you can quickly transform your porch without the need for extensive construction work.
Maintenance is also minimal with tin tiles. A quick wipe with a damp cloth is usually sufficient to keep them clean, and their durable finish means they will continue to look great with very little upkeep.
Step 5 Select Fabric for Ceilings
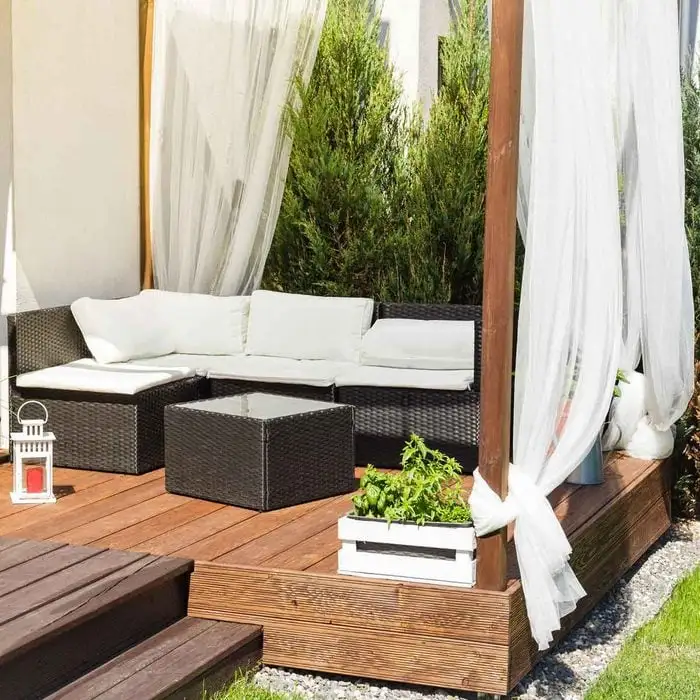
Using outdoor fabric or canvas for your porch ceiling is a creative and affordable way to add color, texture, and a touch of elegance to your outdoor space.
Fabric ceilings can create a cozy, shaded area that’s perfect for relaxing.
When choosing fabric, make sure it’s designed for outdoor use. Outdoor fabrics are typically more durable and resistant to fading, moisture, and mildew.
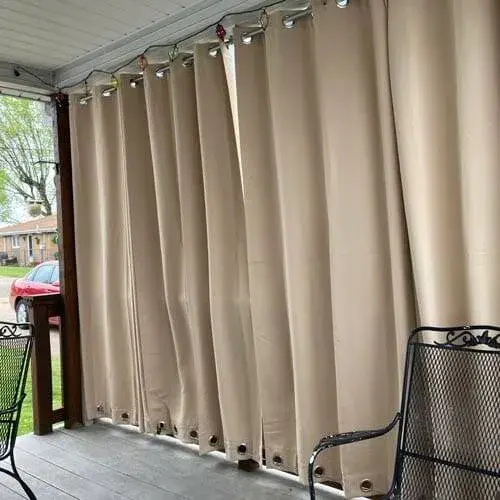
Canvas is a great choice because it’s sturdy and available in a variety of colors and patterns.
You can find fabrics that match your existing decor or go for bold patterns to make a statement.
To securely attach the fabric, start by measuring your porch ceiling and cutting the fabric to size, leaving a little extra for adjustments.

Use heavy-duty staples or a staple gun to attach the fabric to the wooden beams or supports of your porch ceiling. you can get this tool on amazon.
For a more polished look, you can use decorative hooks or grommets to fasten the fabric.
Consider layering different fabrics for a unique look or using fabric with interesting weaves or designs.
You can also create draped effects by allowing the fabric to hang slightly in some areas, adding a touch of luxury.
Step 6 Add your custom design

Stenciling is a fantastic way to add custom designs to your porch ceiling without spending a lot of money on new materials.
This allows you to add your own design patterns or simple shapes, making your porch ceiling a unique focal point.
Simple DIY Stenciling Guide
Step 1 Choose Your Stencil: Select or create a stencil design that fits your style.
Step 2 Prepare the Ceiling: Clean the ceiling and apply a base coat if needed.
Step 3 Secure the Stencil: Tape the stencil firmly to the ceiling.
Step 4 Apply the Paint: Use a brush or sponge, dab off excess paint, and apply lightly over the stencil.
Step 5 Remove the Stencil: Peel off the stencil while the paint is wet. Reposition for repeating patterns.
Step 6 Touch Up: Fix any mistakes with a small brush.
Step 7 Seal the Design: Once dry, apply a clear sealant for protection.
Step 7 Choose the right faux wood beams
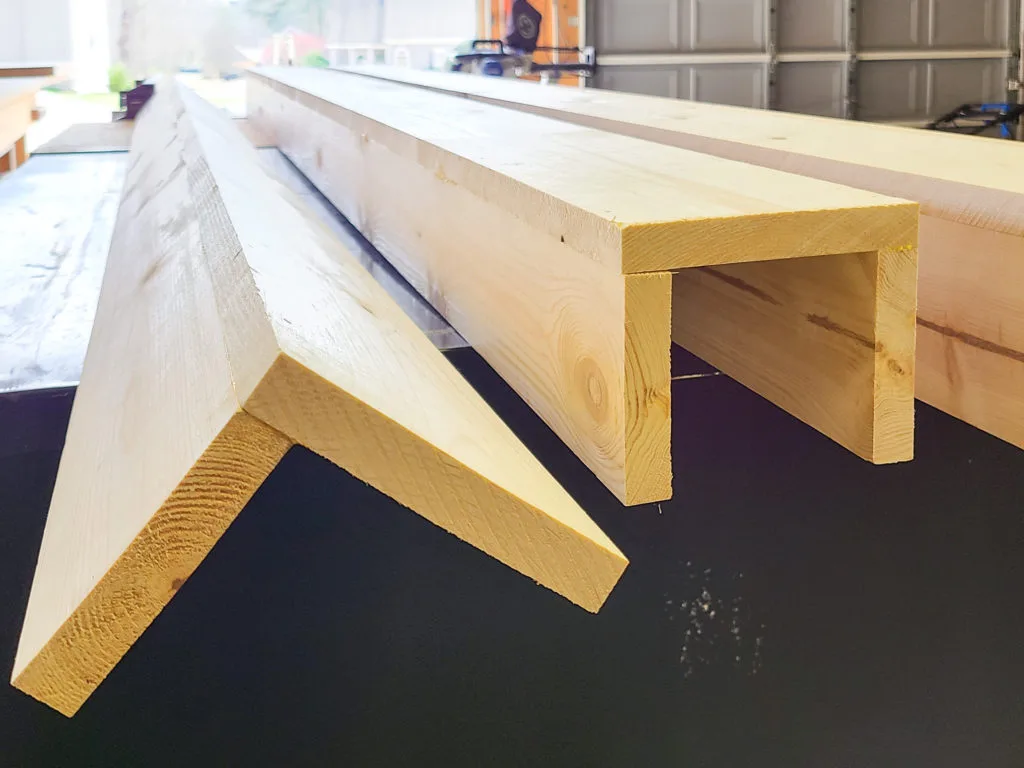
Faux wood beams are well known to add a stylish look to your porch ceiling compared to other high-cost wood.
These beams are made from authentic wood but are made from lightweight materials like polyurethane, making them more affordable and easier to install.
The best thing about this is that they come in various finishes and colors, allowing you to choose a style that meets your home design, whether you prefer a rustic, traditional look or a sleek, modern design.
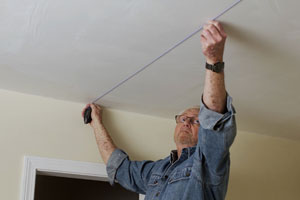
To install faux wood beams, start by measuring your porch ceiling and planning the layout.
Ensure you have the right number of beams and that they’re evenly spaced for a balanced look.
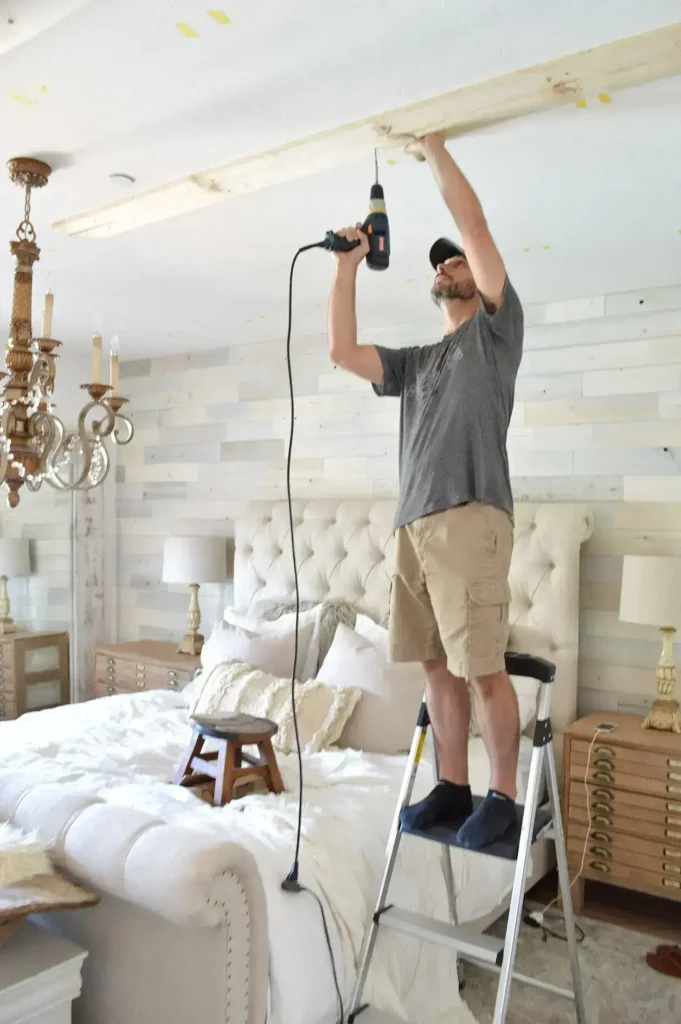
Next, slide the faux beams over the mounting blocks. Use a drill to screw the beams into the blocks, ensuring they’re securely attached.
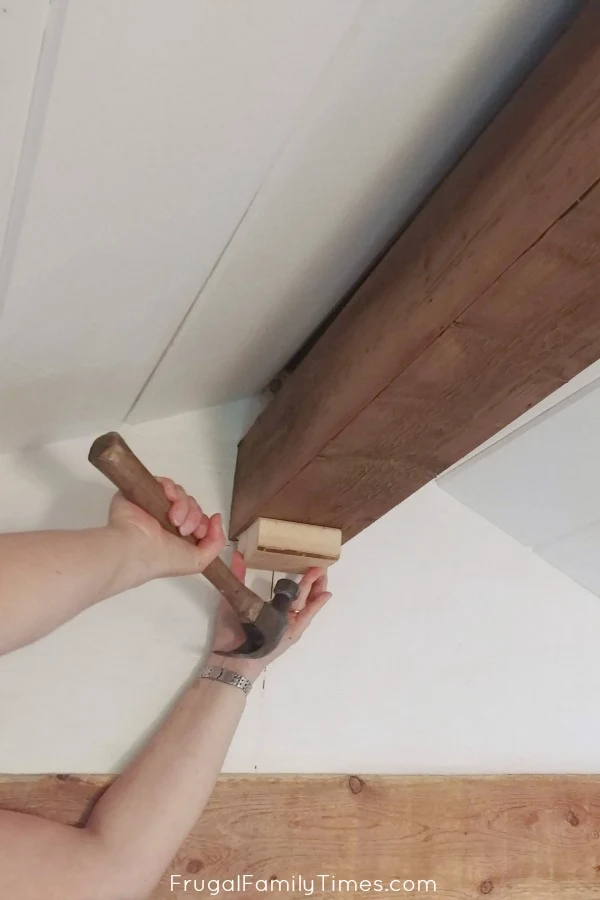
Secure wooden mounting blocks to the ceiling where the beams will go, using screws or nails. These blocks will support the beams and keep them in place.
For a seamless finish, cover any visible screws with wood filler or matching paint.
Step 8 Add Reclaimed Wood
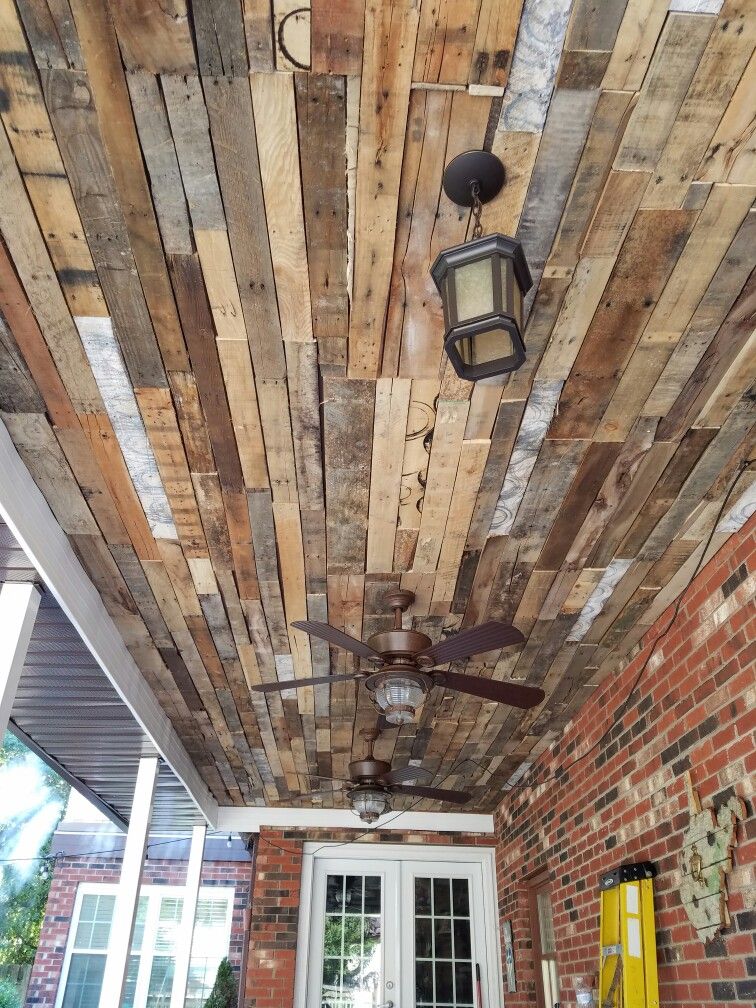
Using reclaimed wood for your porch ceiling brings a unique charm and character to your outdoor space.
Each piece of reclaimed wood has its own history, which adds a rustic and warm aesthetic new wood simply can’t replicate.
The best thing about it is that this eco-friendly option also contributes to sustainability by repurposing wood.
Ensure the wood is free from pests and structurally sound before purchasing. Some vendors specialize in reclaimed wood and can provide pieces that have been treated and cleaned, ready for use.
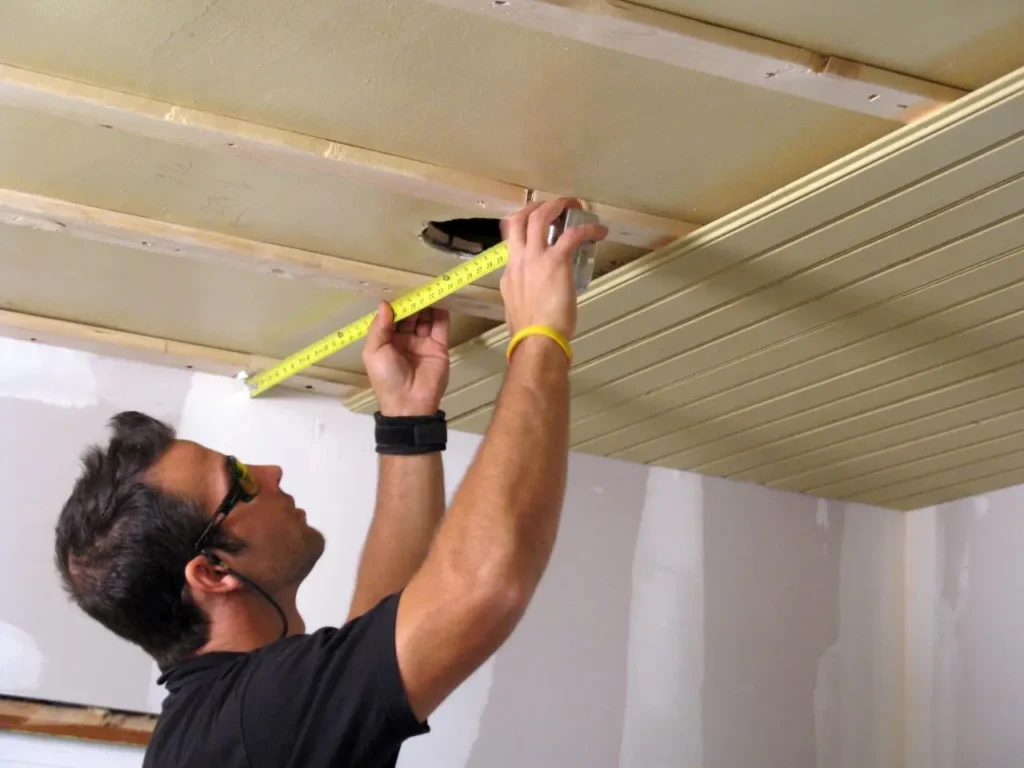
How you can integrate it with your ceiling, Measure your ceiling and cut the wood to fit, arranging the planks in a pattern that highlights their natural variations.
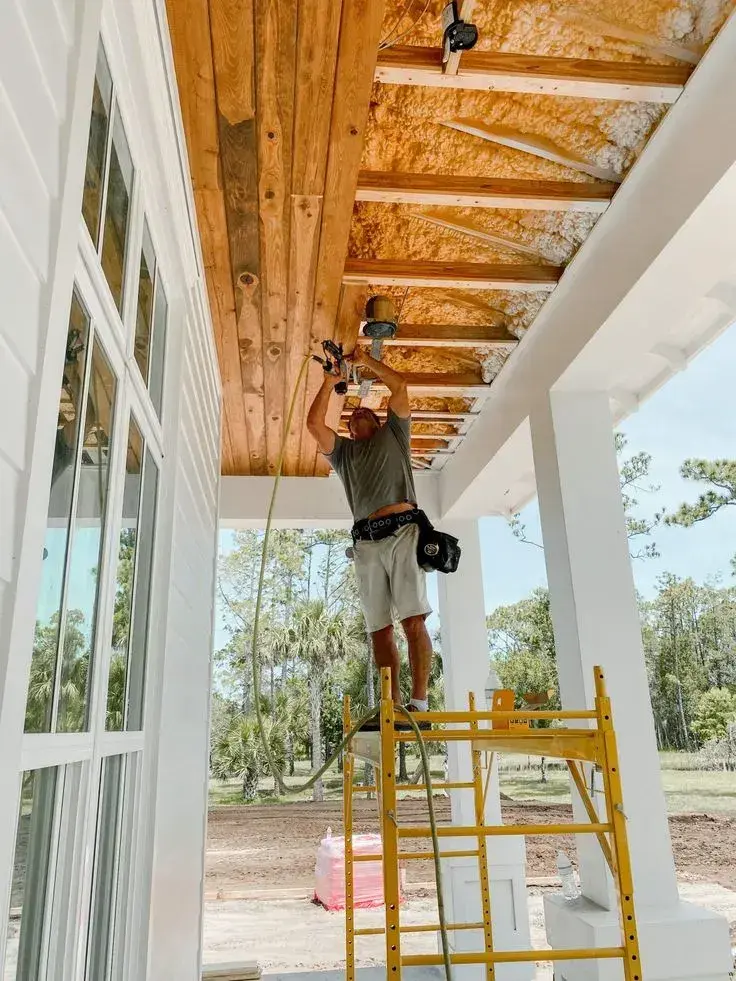
Secure the wood to the ceiling using nails or screws, ensuring they’re tightly fastened.
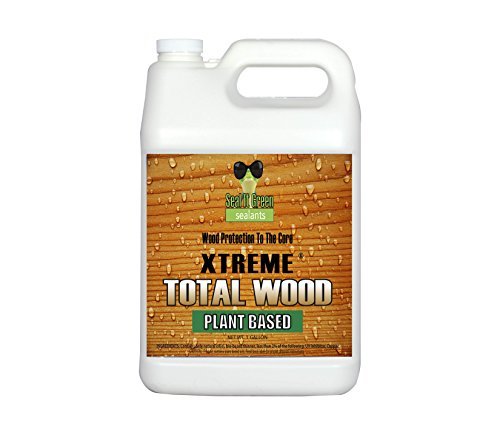
Consider applying total wood product or any other to protect the wood to enhance its durability.
So from where you can get reclaimed wood, check the local salvage yards, demolition sites, and online marketplaces. factories and warehouses are treasure troves for high-quality reclaimed wood.
The benefit of using reclaimed wood, it will add a distinctive and timeless look to your porch ceiling, making it a cozy and inviting space.
Step 9 Choose the Outdoor Wallpaper

It depends, on whether you like wallpaper on the ceiling or you want to keep it as it is for a natural wood look.
Outdoor wallpaper adds an attractive design to your ceiling and it is also cost effective.
It offers an array of patterns and designs, allowing you to transform your outdoor space into a stylish retreat.
This is perfect for those looking to make a bold statement without committing to permanent changes.
When selecting outdoor wallpaper, ensure it is waterproof and specifically designed for exterior use.
This type of wallpaper is made to withstand the elements, including rain, humidity, and sunlight, ensuring it remains vibrant and intact over time.
Look for materials like vinyl or other weather-resistant fabrics that offer durability and easy maintenance.
For installation, start by cleaning the ceiling surface to remove any dust or debris. Measure the area and cut the wallpaper to size, leaving a little extra for adjustments.

Apply a high-quality outdoor adhesive or paste to the ceiling, then carefully position the wallpaper. Use a smoothing tool to remove air bubbles and ensure a flat, even application.

To finish, trim any excess wallpaper and seal the edges with a clear waterproof sealant to prevent peeling.
With these simple steps, outdoor wallpaper can bring a fresh, dynamic look to your porch, making it an inviting space to enjoy year-round.
Why should you paint your porch ceiling blue?
If you are wondering what does it mean when a porch ceiling is painted blue.
Painting your porch ceiling blue can create a calming atmosphere, deter insects, and enhance the overall aesthetic by mimicking the sky, making the space feel open and airy.
FAQ
How to insulate an enclosed porch ceiling
To insulate an enclosed porch ceiling, add fiberglass batts or foam boards between the ceiling joists, seal any gaps, and install a vapor barrier to keep out moisture.
How to hang witches’ hats from porch ceiling
Hang witches’ hats from the porch ceiling using fishing line and adhesive hooks.
How to get rid of spiders on porch ceiling
To get rid of spiders on your porch ceiling, clean regularly, use spider repellents, and seal any entry points.
Why use faux wood beams on a porch ceiling?
Faux wood beams offer a stylish look at a lower cost and are easier to install.
Conclusion
To create a budget porch ceiling we need a proper guide, what are the things we can get at a low cost to lower the budget.
In this guide, I have explained every little thing on how you can build a budget ceiling without compromising on style.
If you found this Inexpensive Porch Ceiling Ideas helpful, don’t forget to leave your thoughts in the comments. If you have any questions, feel free to contact me. I will definitely answer your questions.


Thank you,I’ve recently been looking for info approximately this toic for a while
and yours is the best I have fouund out till now.
But, what concerning the conclusion? Are you positive about the supply? https://Www.waste-ndc.pro/community/profile/tressa79906983/
Thank you, I’ve redcently been looking for info approximately this
topic for a while and yours is the best I have found out till now.
But, what concerning the conclusion? Are you positive about the supply? https://Www.waste-ndc.pro/community/profile/tressa79906983/